How to get free yarn
The fiber arts and fashion can be expensive and wasteful. Many artists and designers struggle with finding sustainable and budget-friendly ways to continue their craft. Luckily for fiber artists, a cheap, sustainable solution might be more accessible than you think. Read along to see how I find and recycle yarn to use in my designs.
Step one: Ask everyone you know for their old sweaters
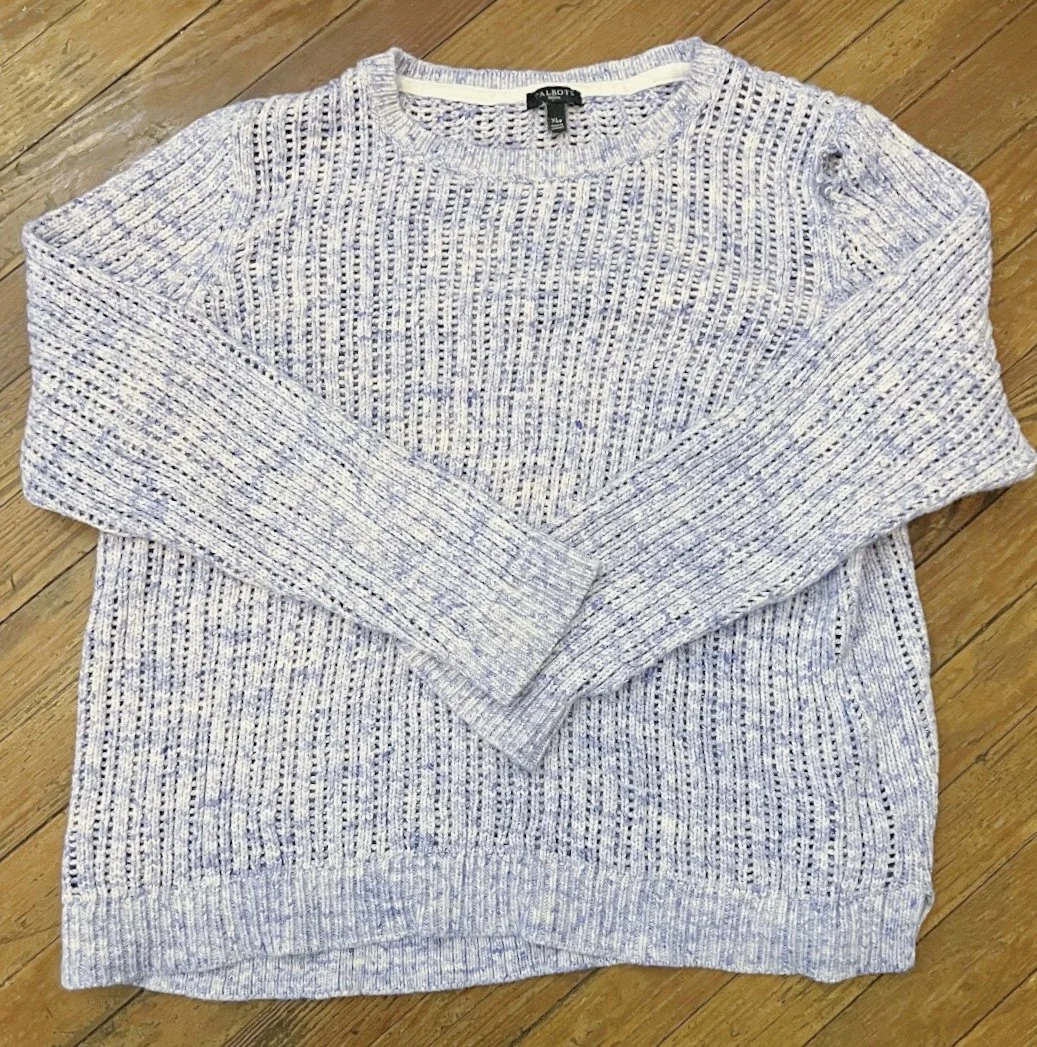
Everyone has at least one sweater lying around that isn’t doing them justice. Take it off their hands for them and turn it into something cooler and more modern. One perk of this strategy is the ability to collect such a wide variety of yarn. When you have plentiful, sustainable yarn; you are able to play around guilt-free. The lack of choice when it comes to yarn can feel freeing as a designer. Limitations encourage creativity. If you come to the point where you have exhausted you and your loved ones’ stash of old sweaters, you can always head to a local thrift store. I recommend taking a trip to the Goodwill donation bins to find lots of yarn for cheap. Here they price clothing by weight so you end up paying under a dollar for a sweater. Another benefit to recycling sweaters is knowing you will have enough yarn to complete a sweater.


Step Two: Disassembling the Sweater
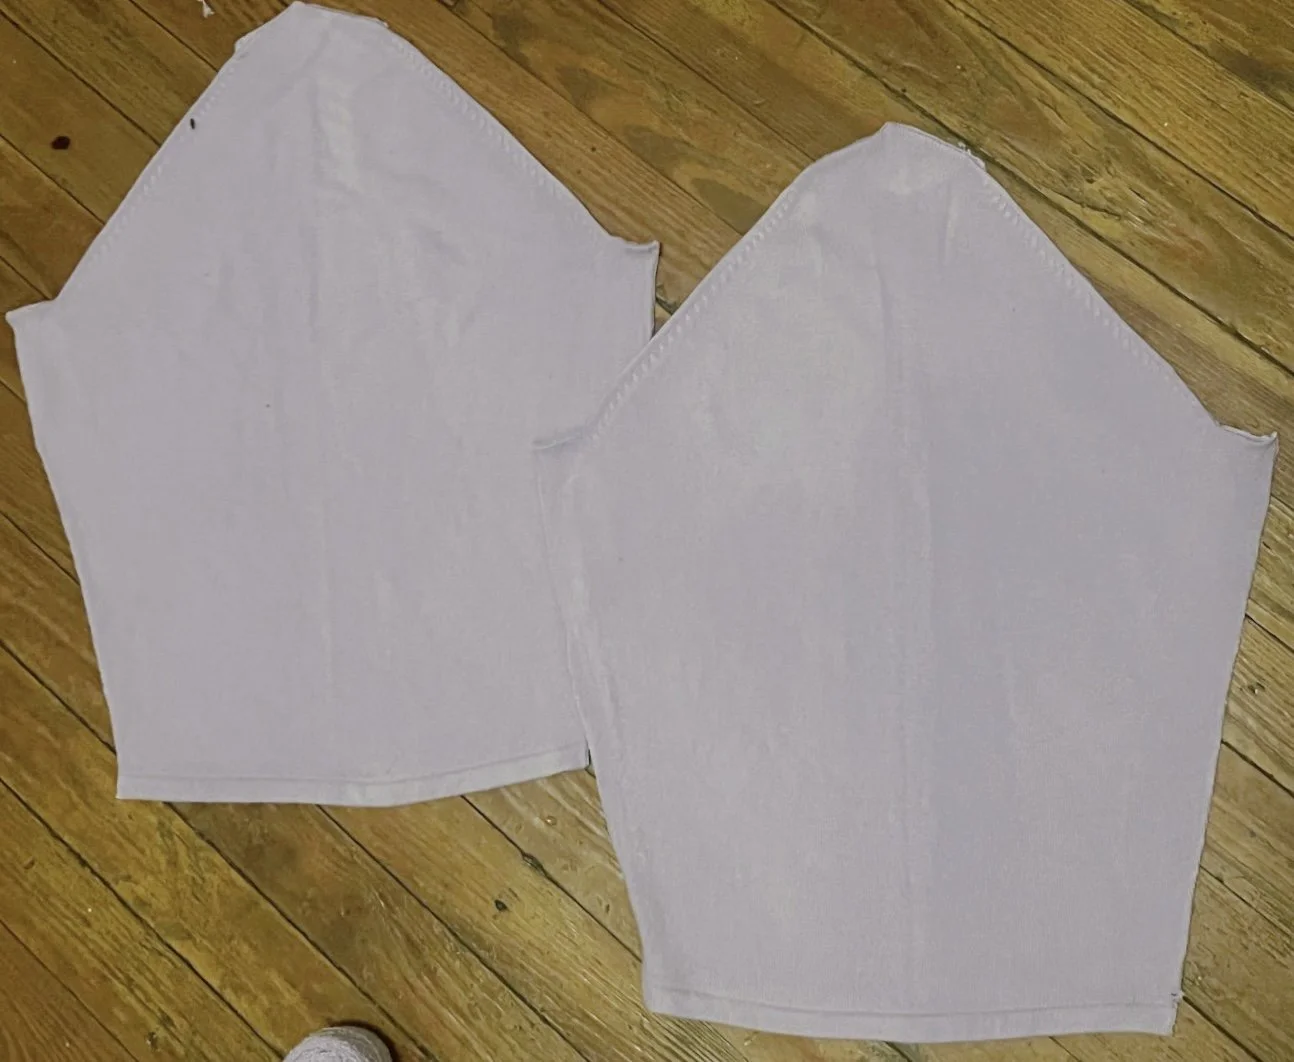
After bringing home your haul of sweaters and giving them a good wash, it is time to begin deconstructing the garment. First, you want to make sure the knit is shaped using full fashioning instead of cut-and-sewn methods. You can do this by looking at the inside of the seams. If the inside is serged, the yarn has been cut and will not be able to be unwound. If you can separate the seam slightly, congrats! this sweater should work.
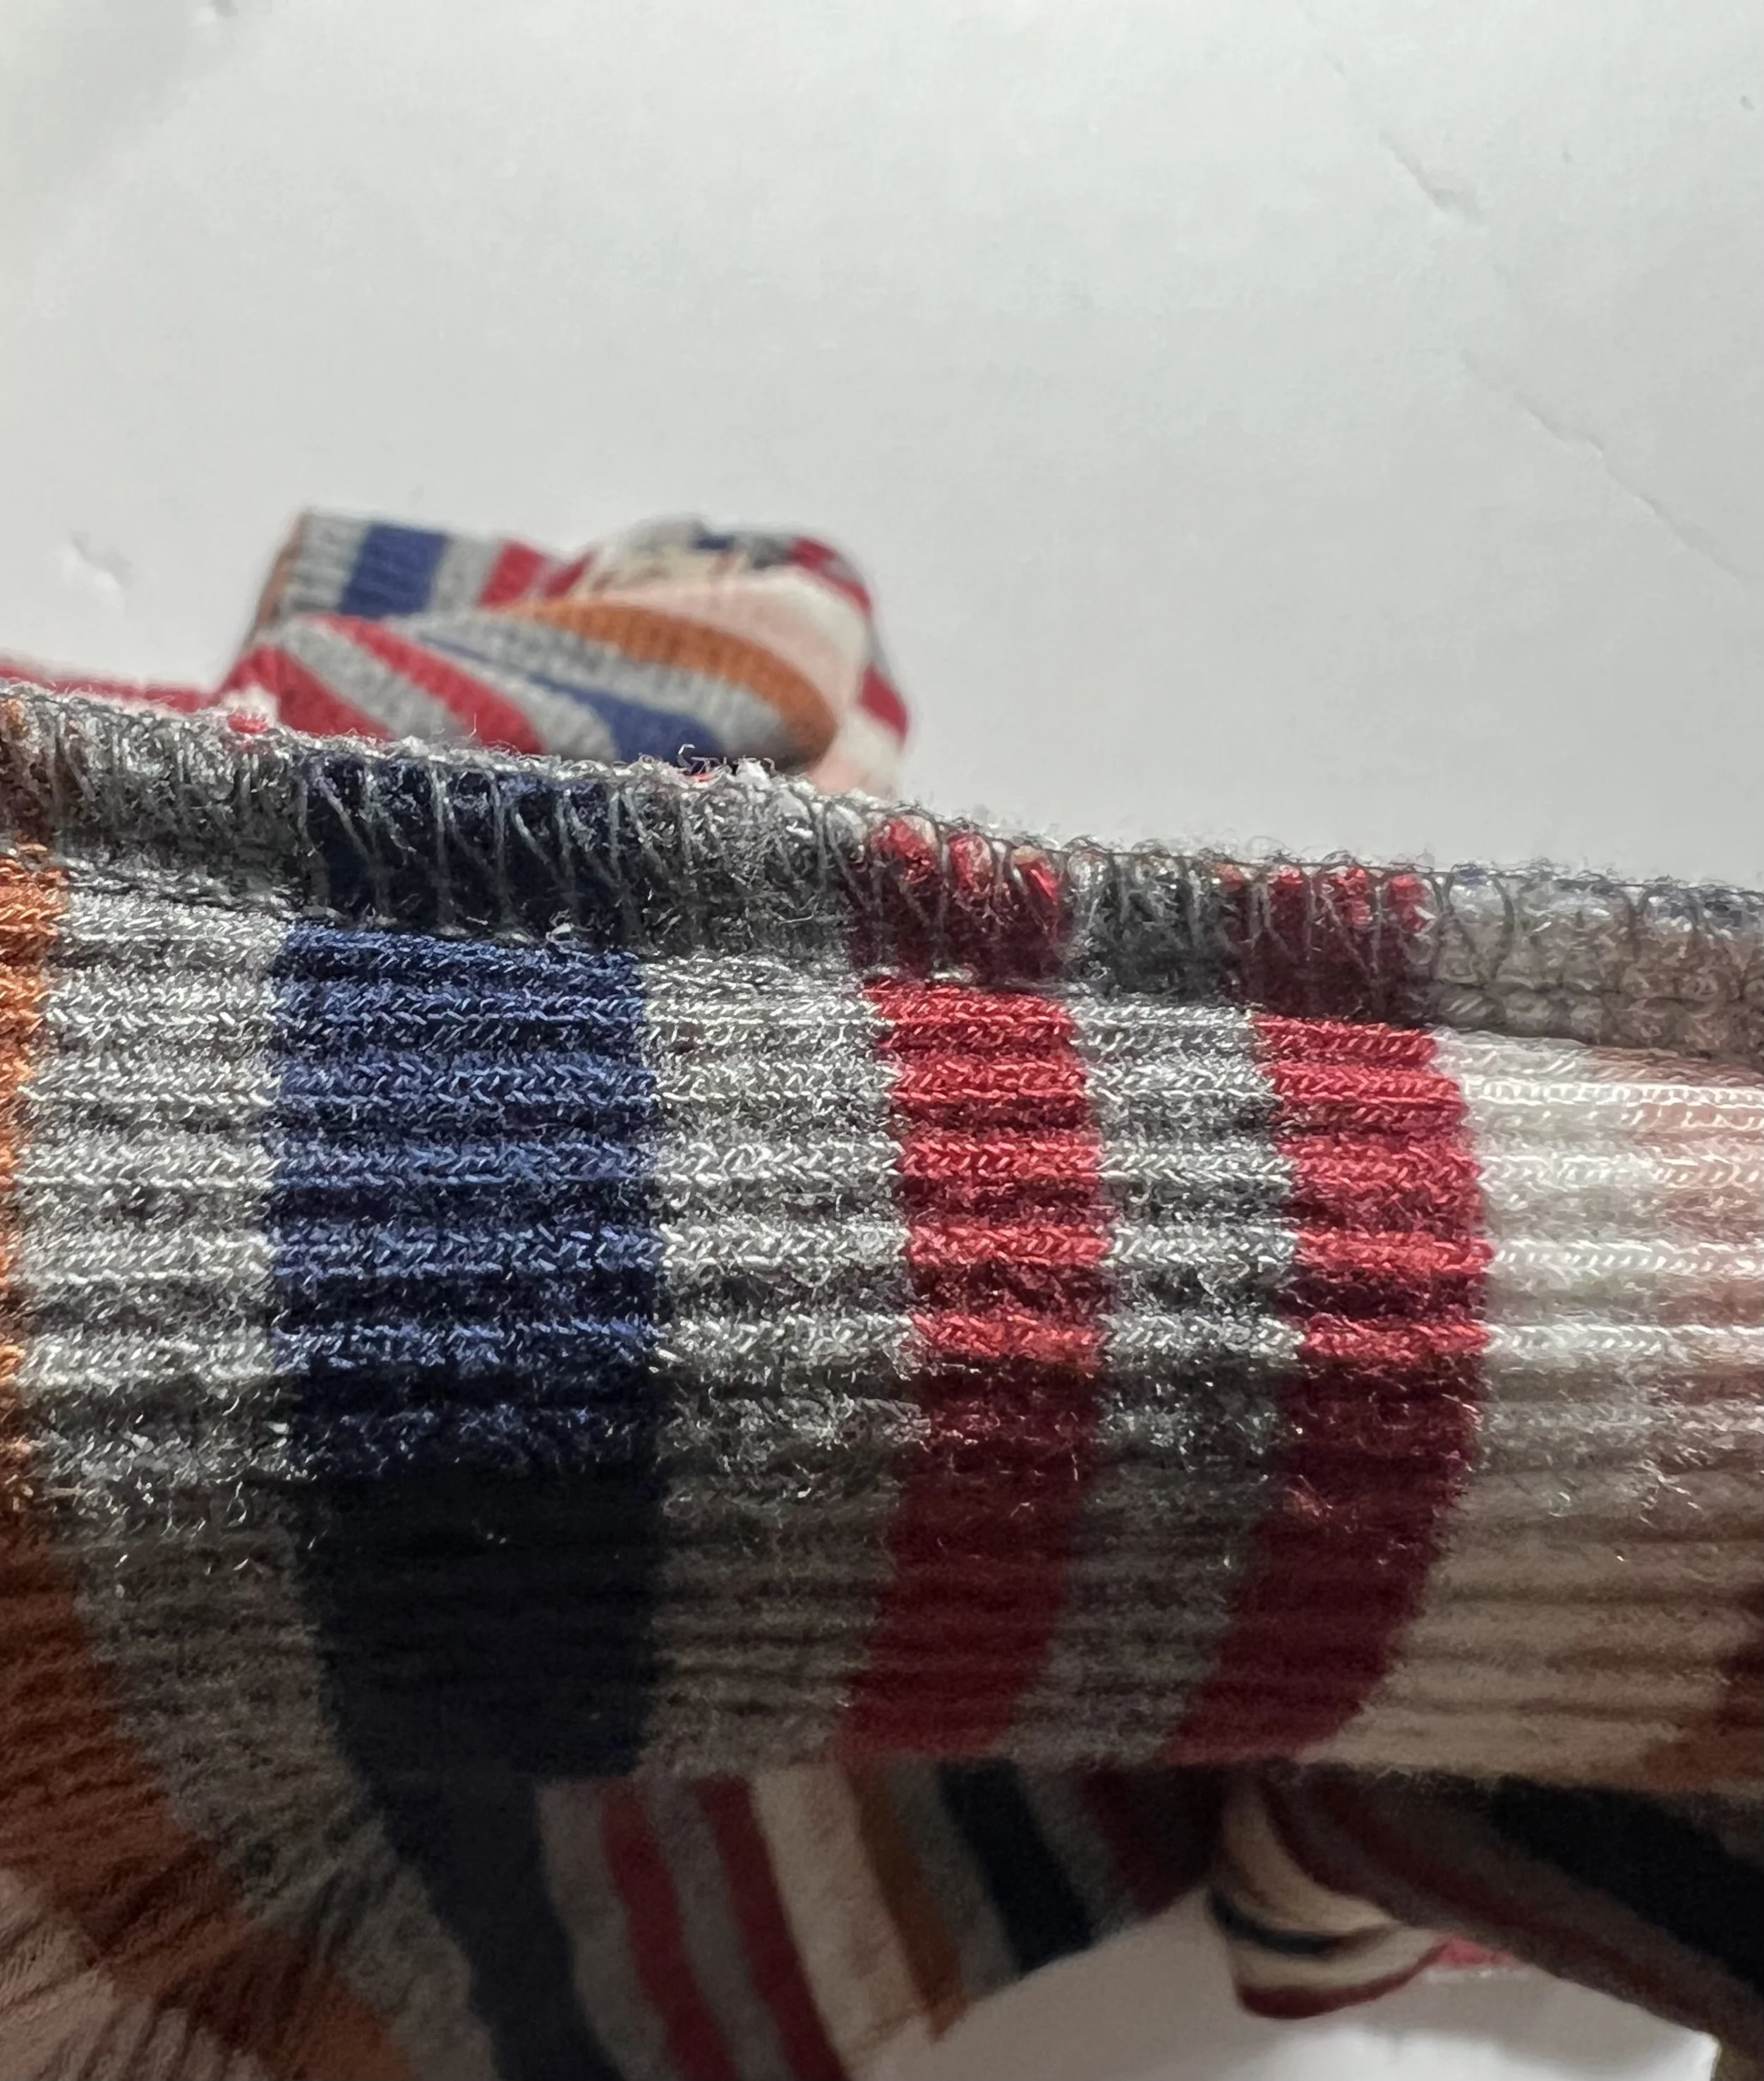
You will then find the end of the chain stitch at the end of each seam. I usually start with the sleeve cuff to try and find the end of the chain stitch. On the inside of the sleeve cuff, you can snip the yarn between two seams.
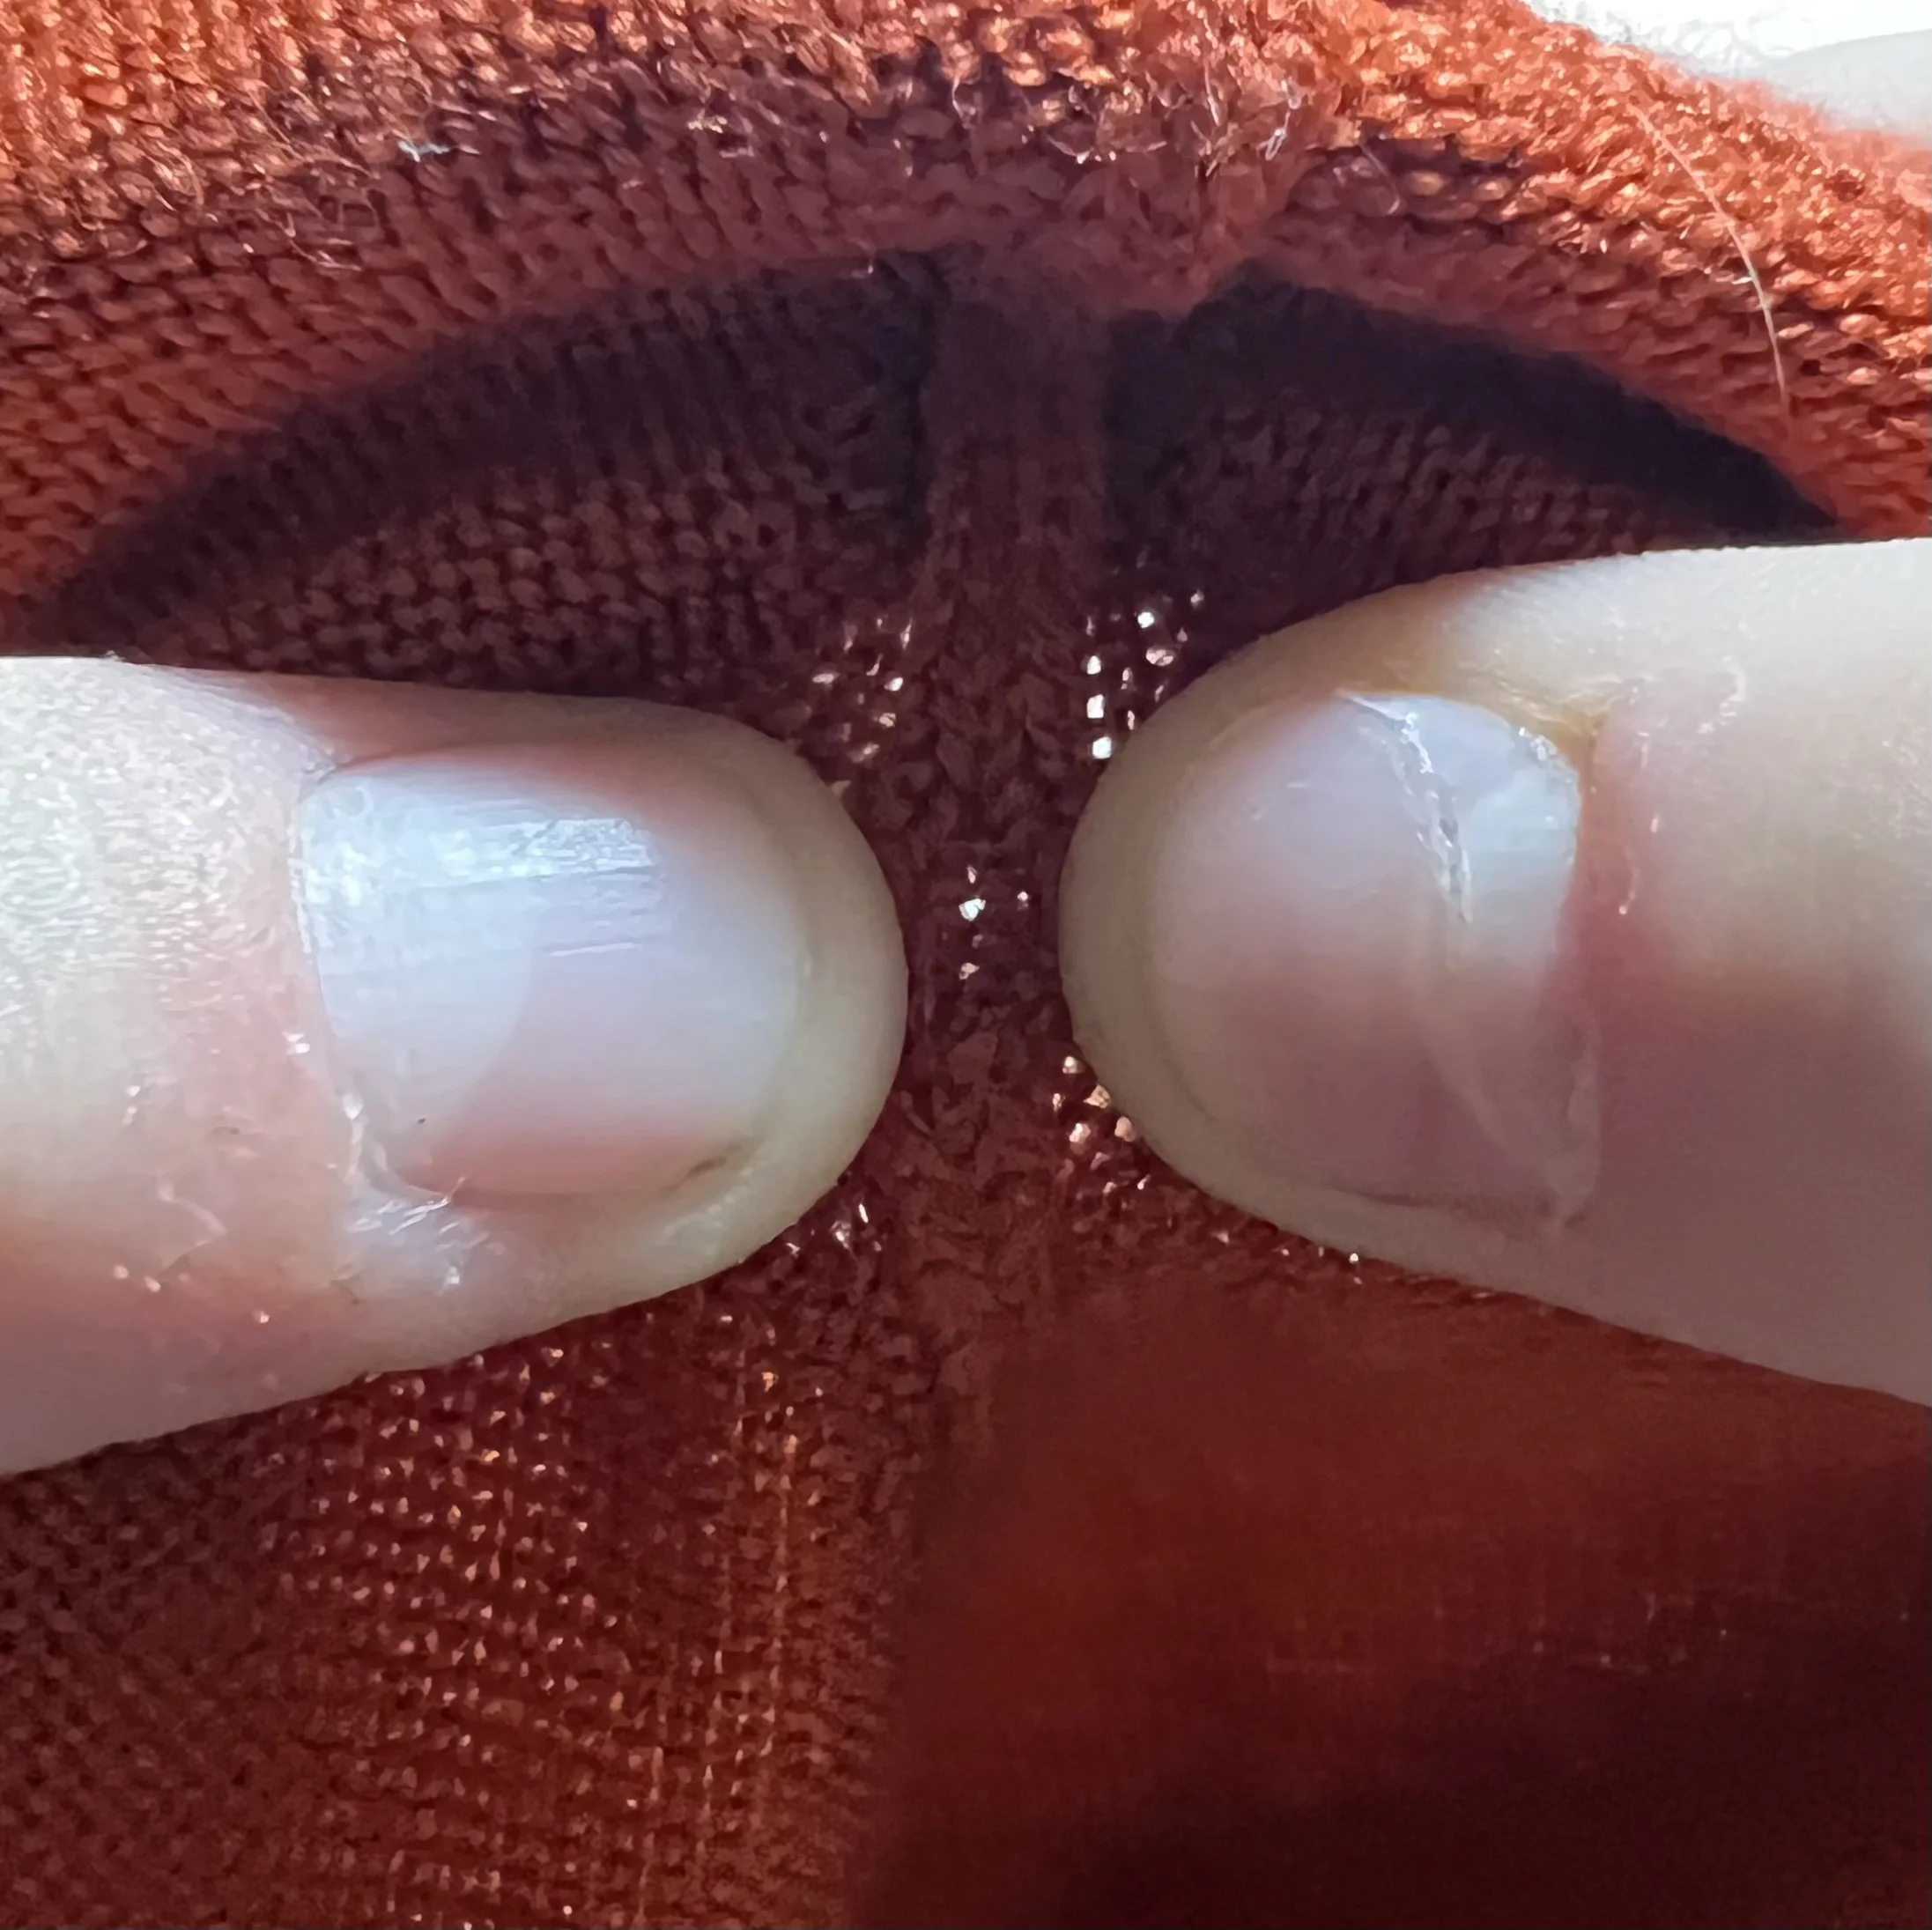
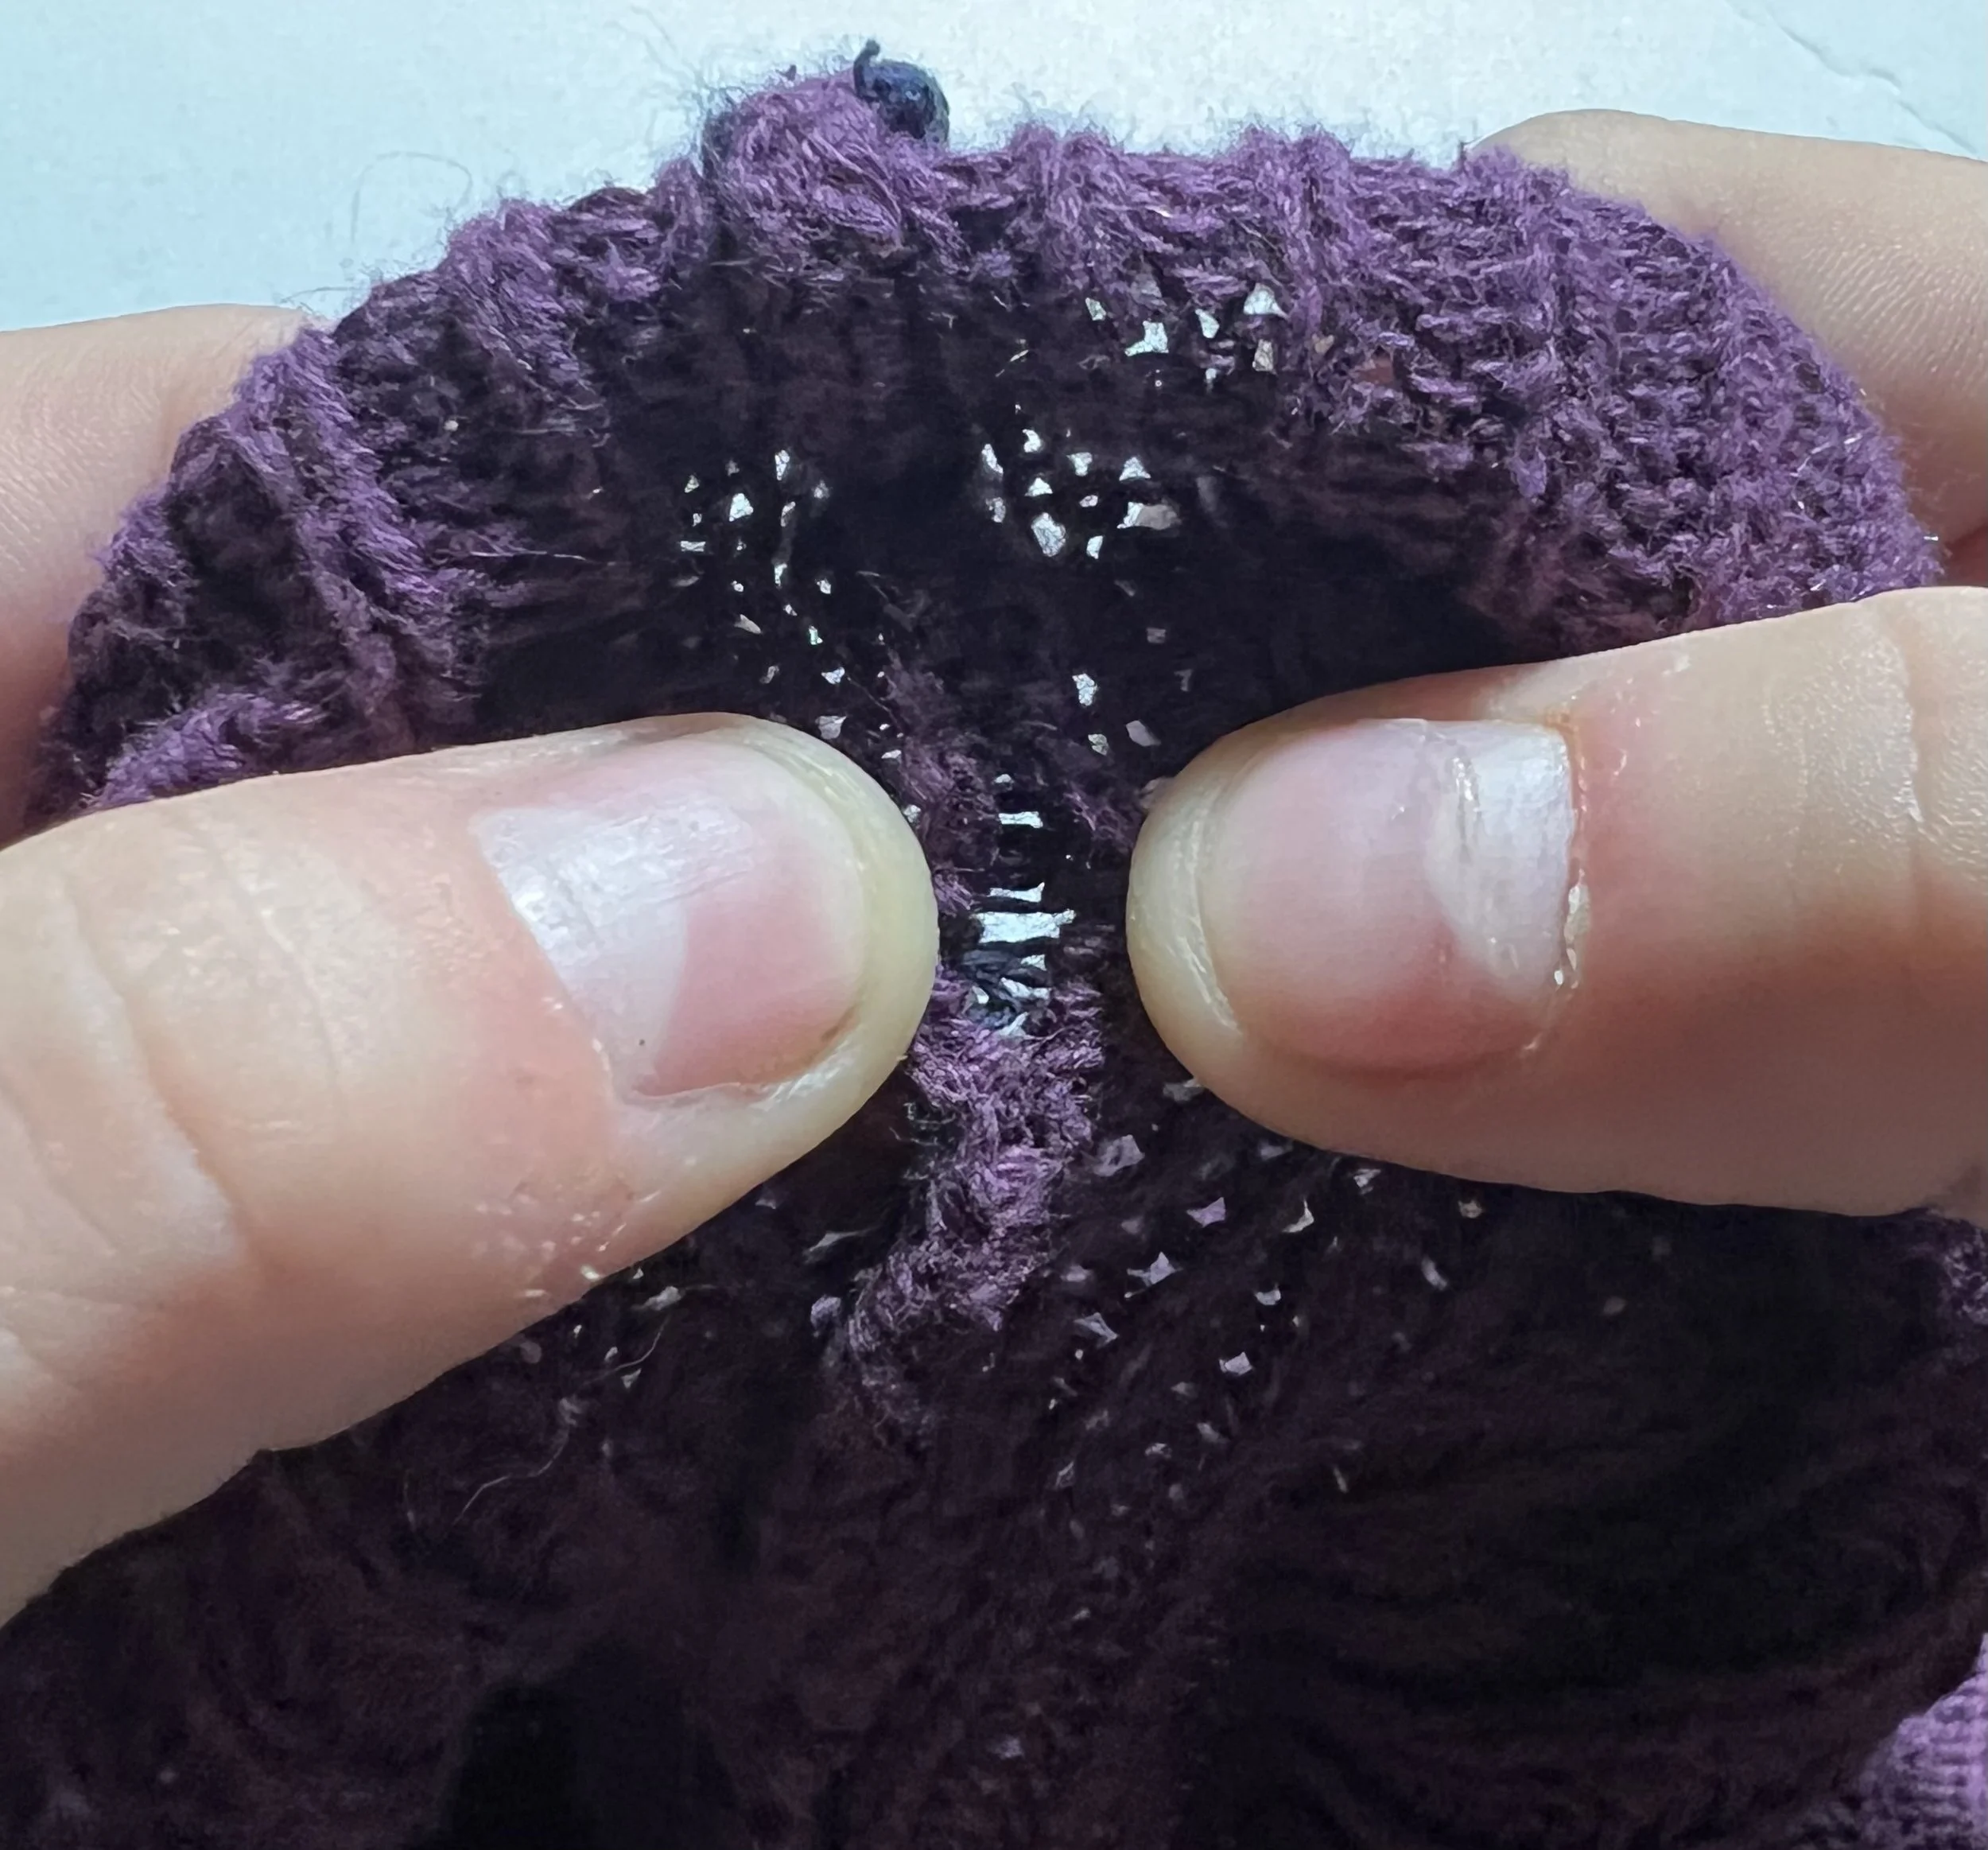
This will open up the chain stitch. You then have to pull the chain stitch through to unknot it. You should then be able to pull on the yarn end to unravel the chain stitch. If the yarn does not come out easily, it may still be knotted and the yarn needs to be pulled to the other side or the chain stitch starts at the other side of the seam. Work your way around the garment undoing all the seams this way. For the collar of most sweaters, you will have to find the post of the chain stitch on the back and snip. This may take some practice to be able to see.
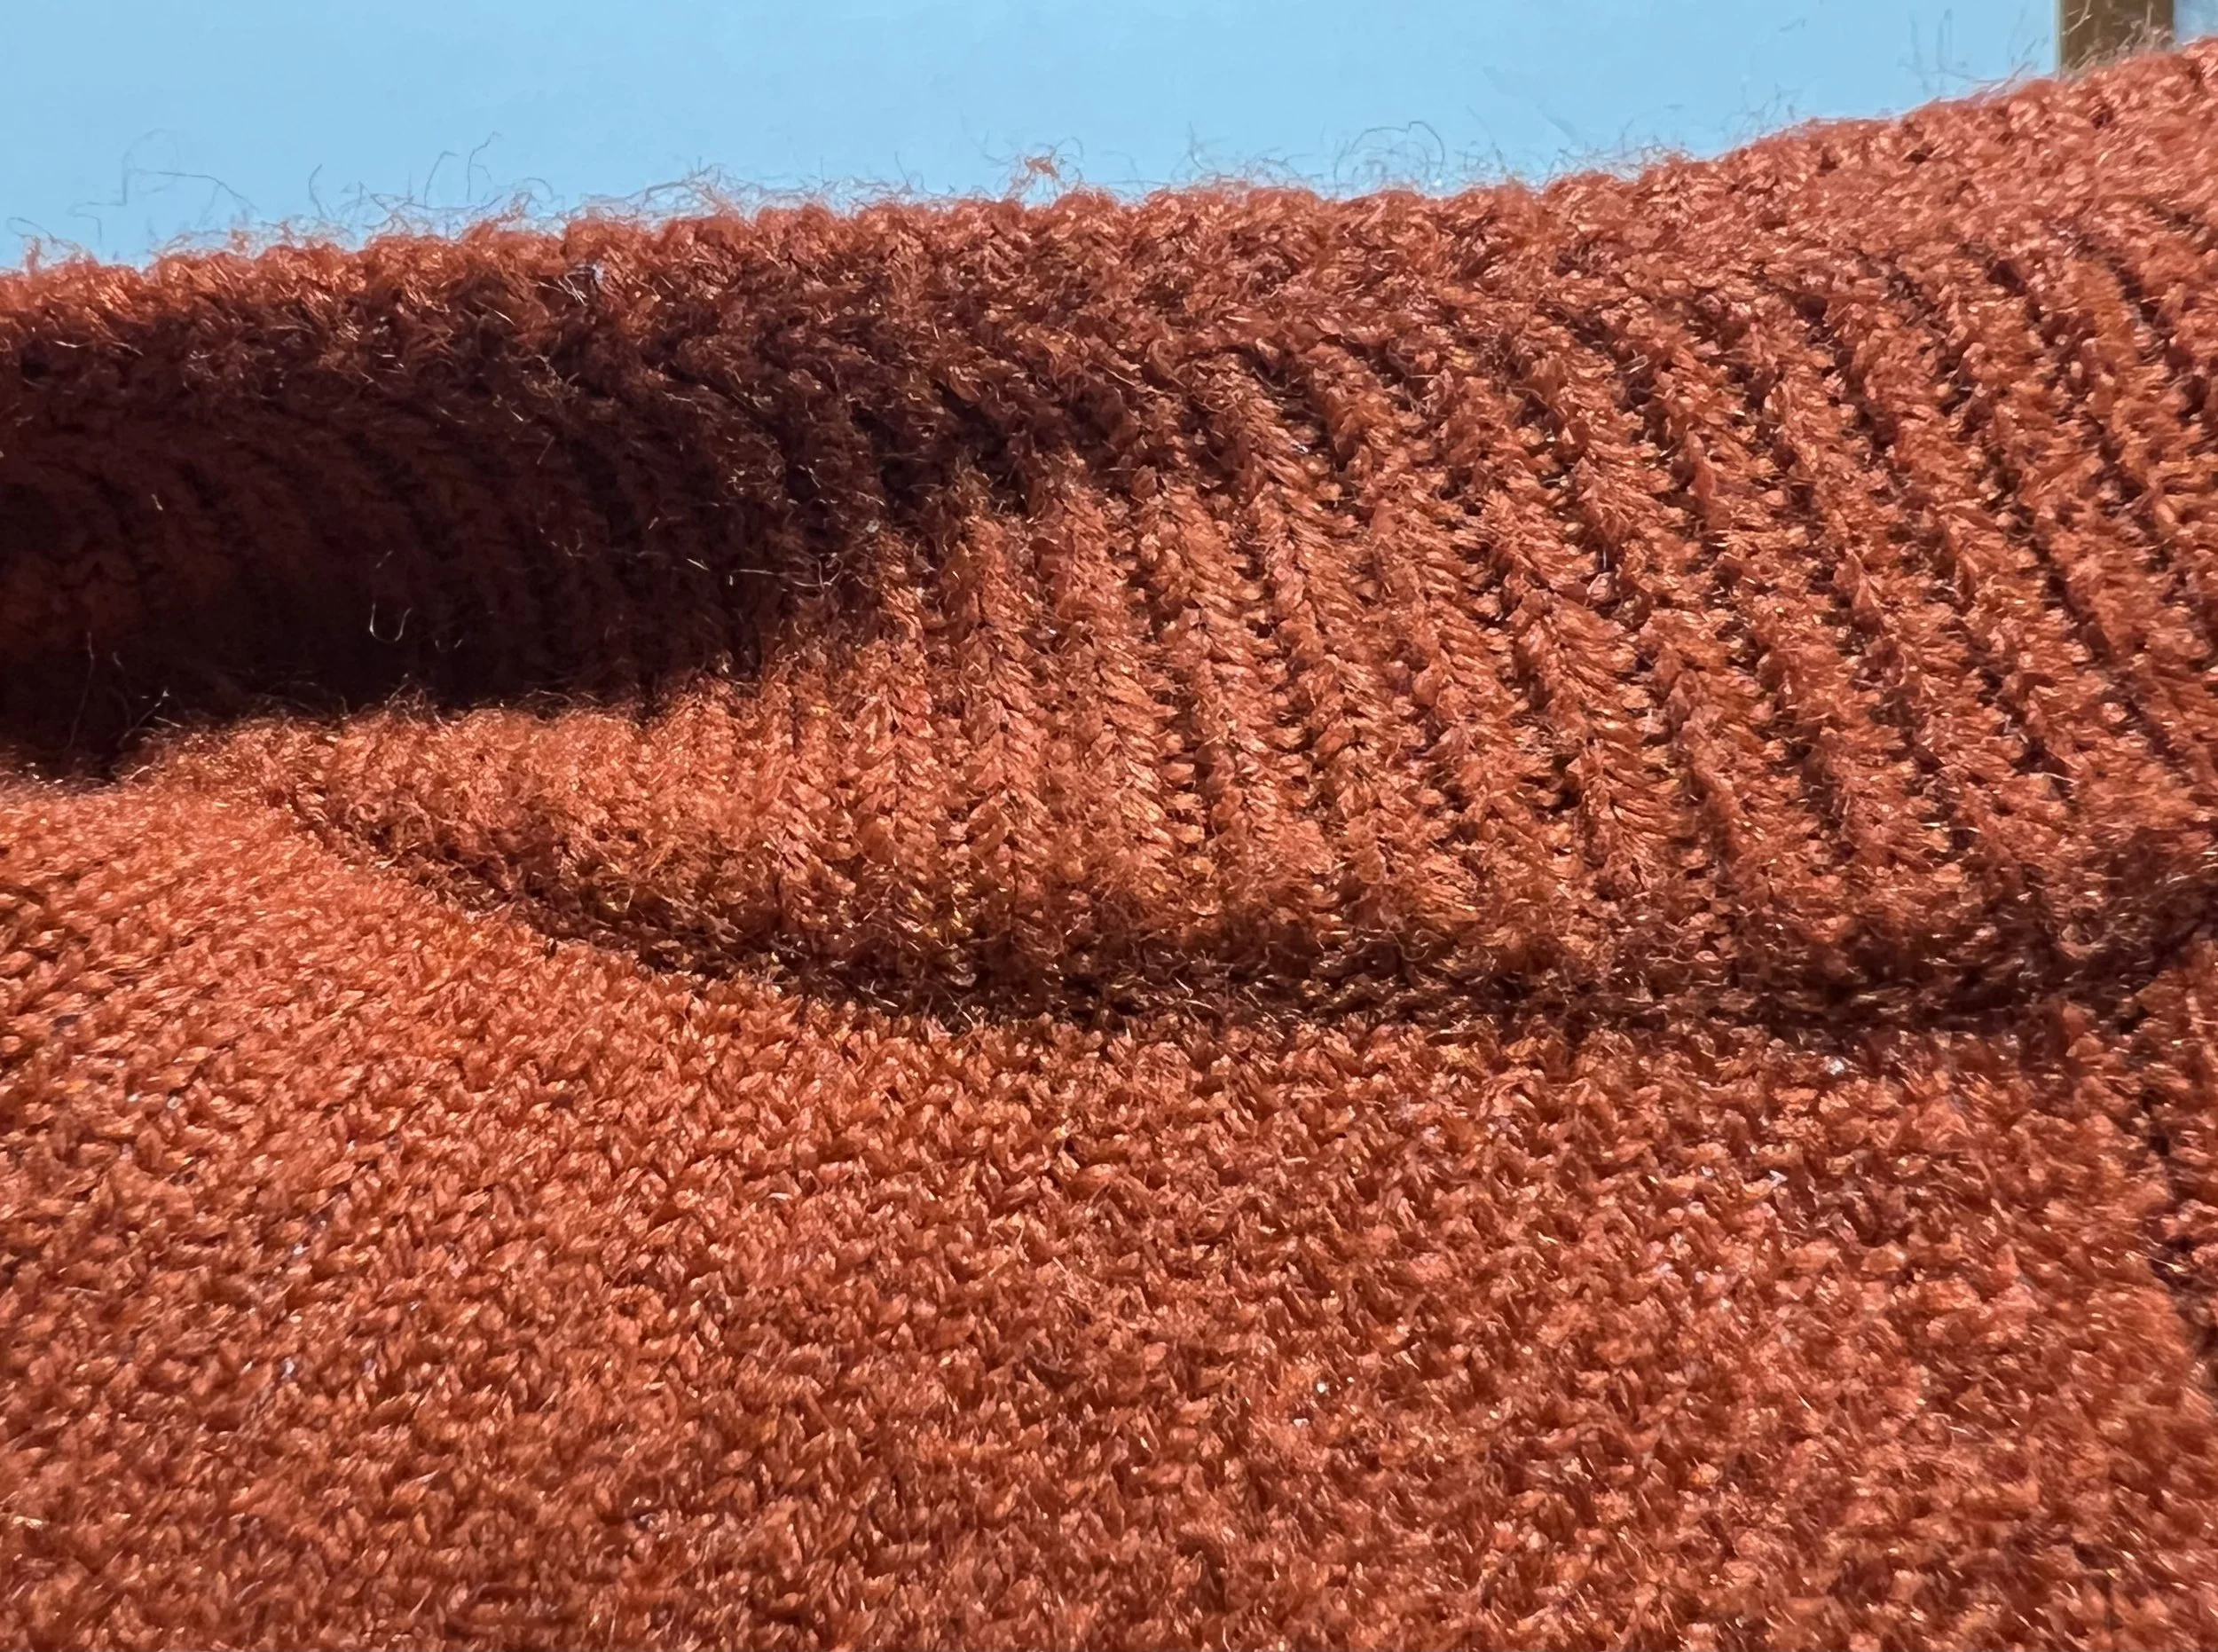
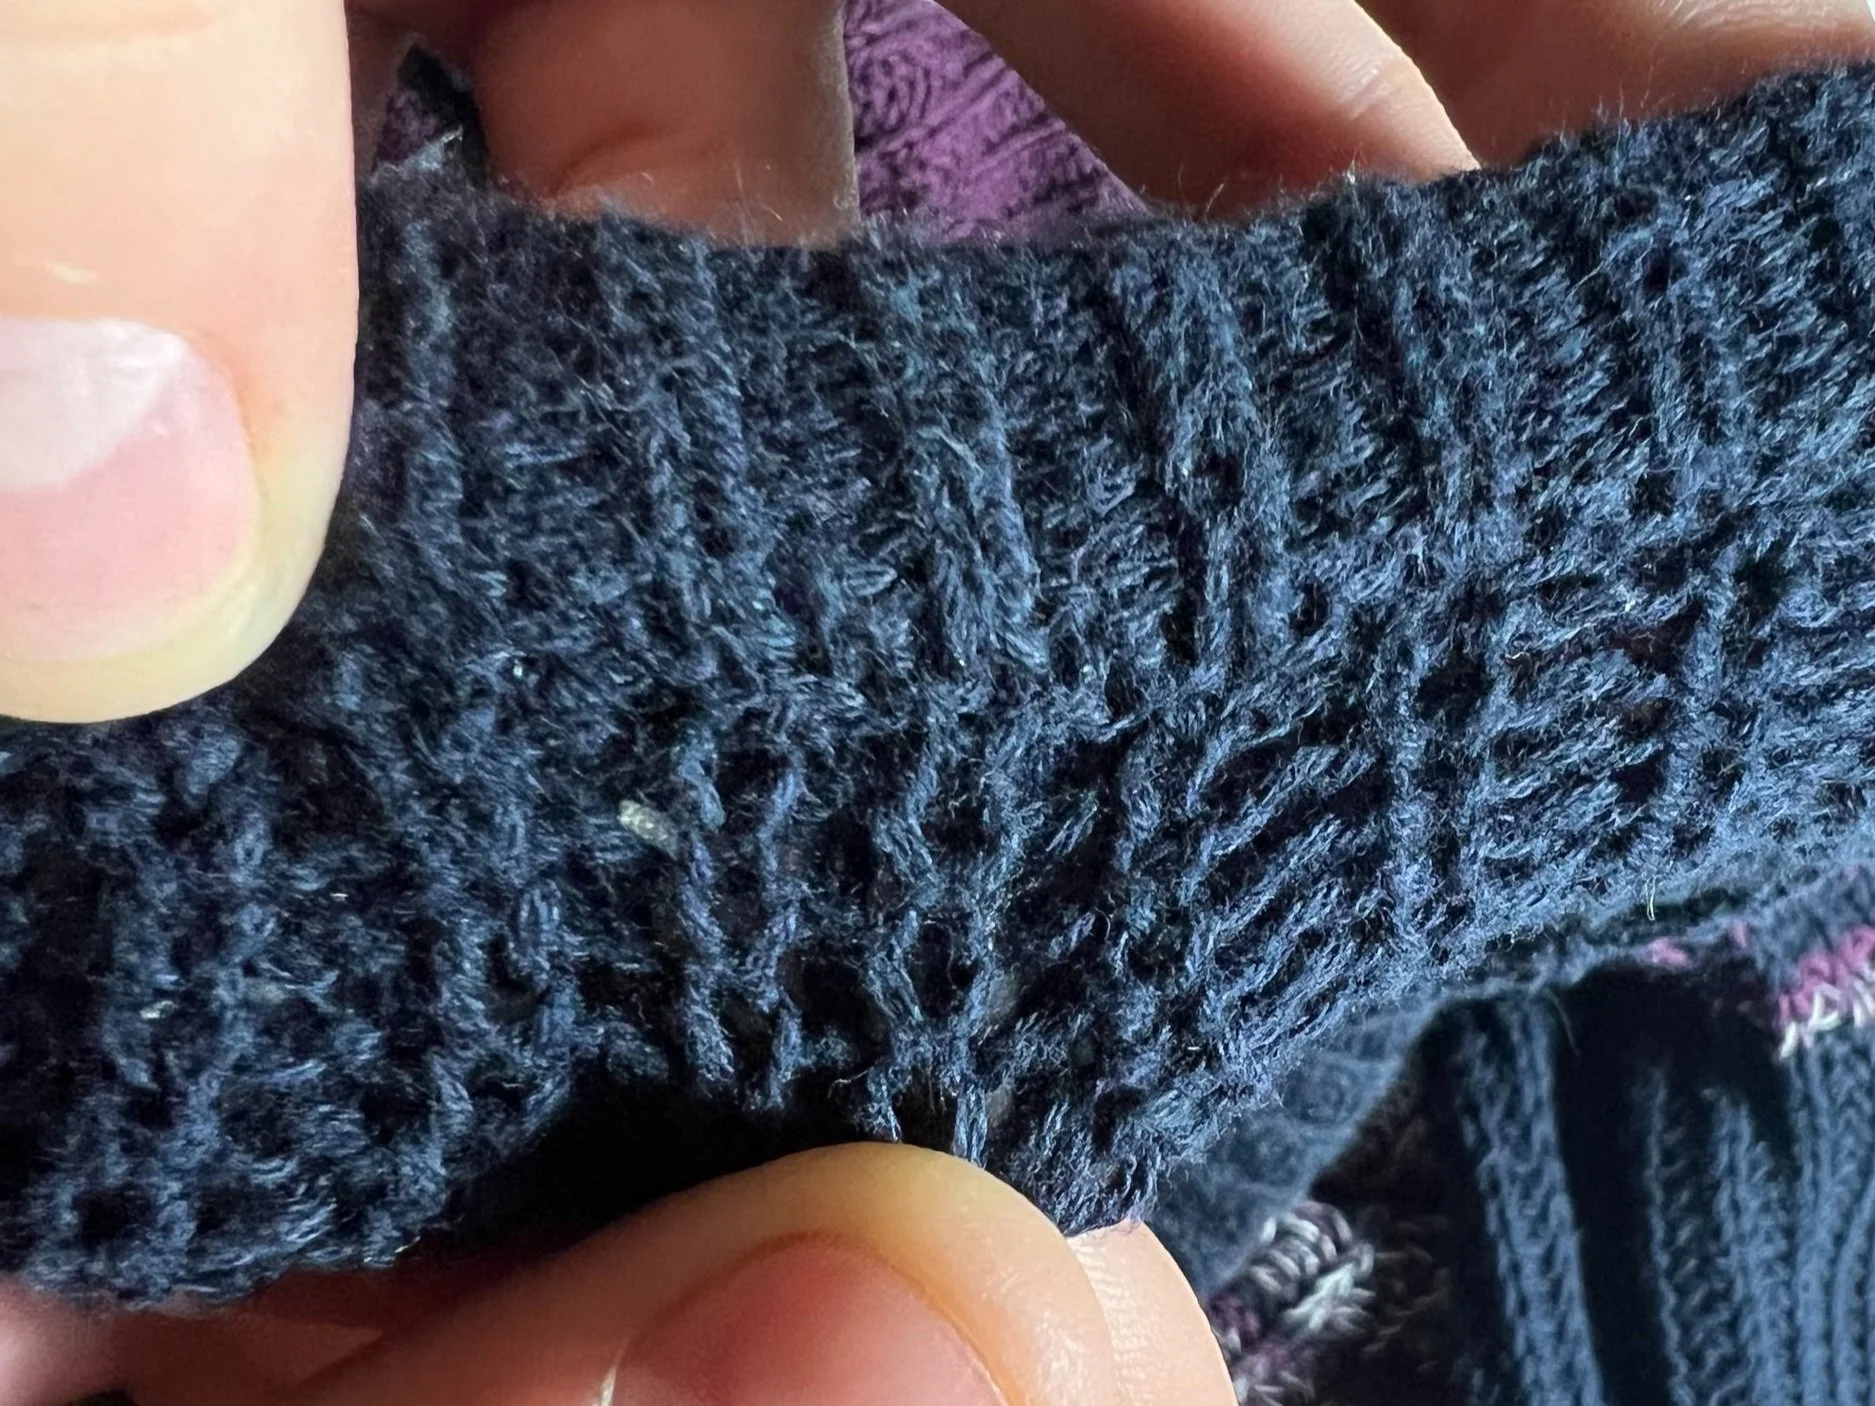
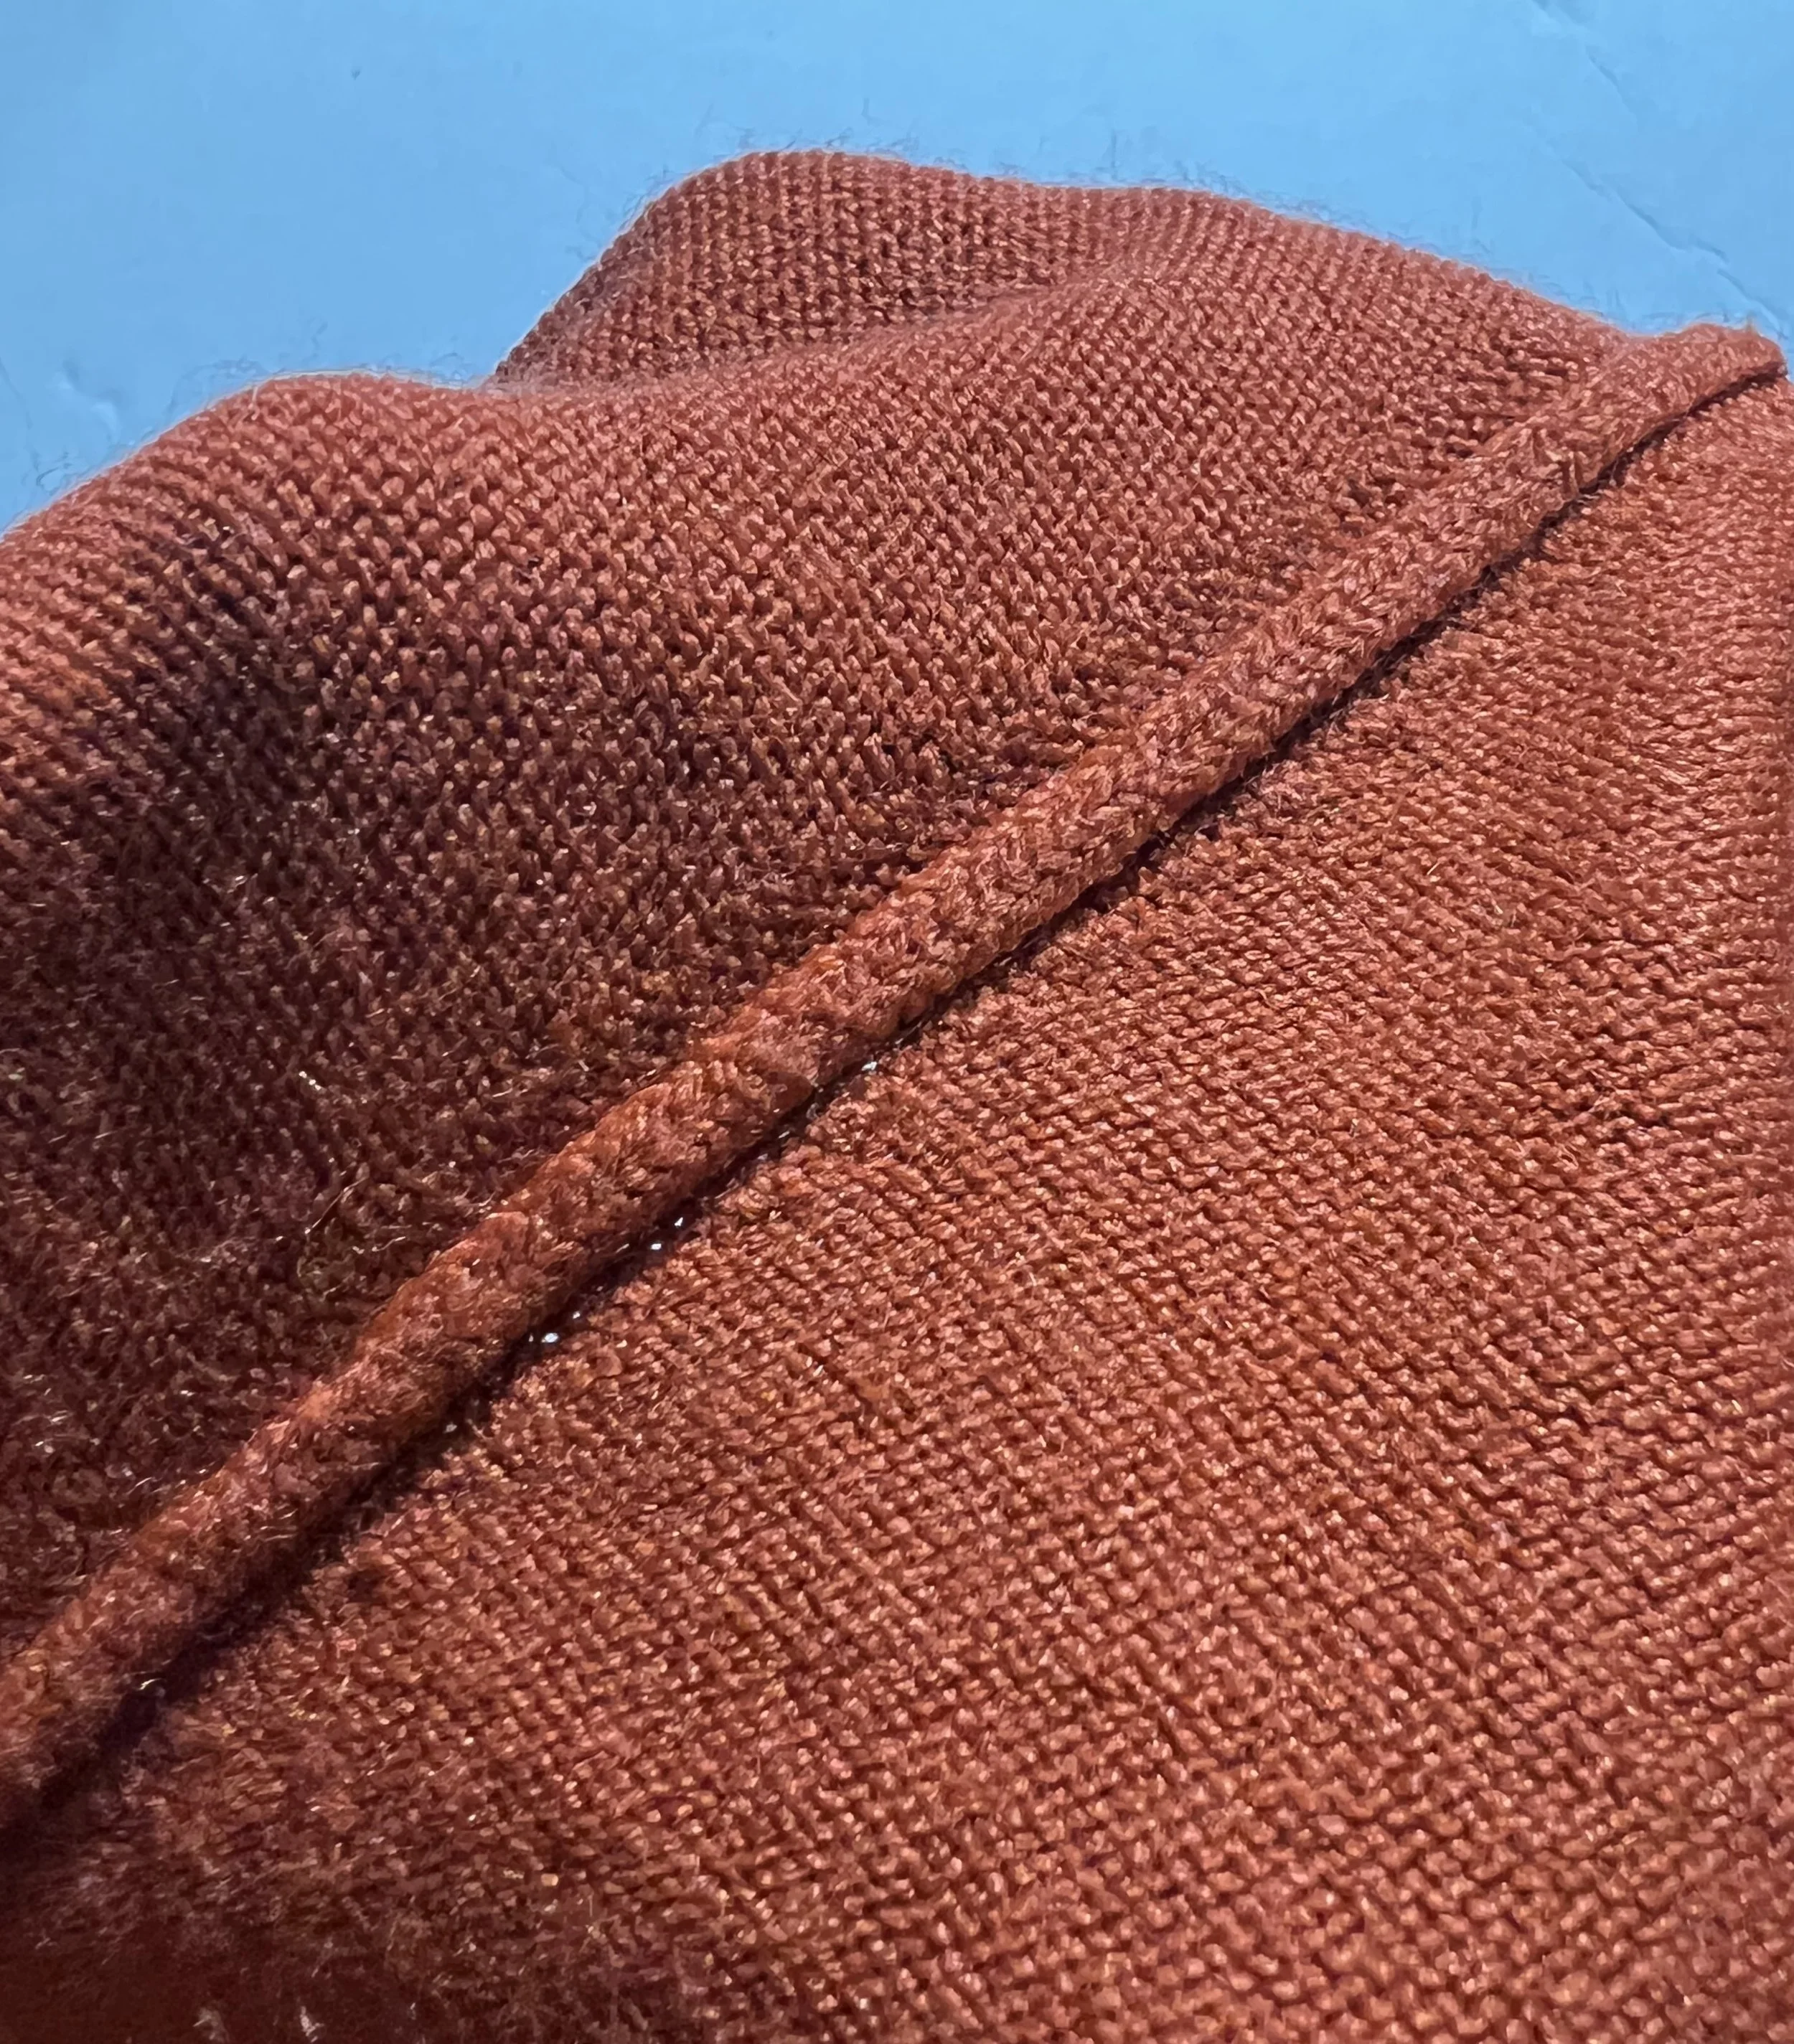
Once you’ve undone all the seams you can see how each pattern piece looks.

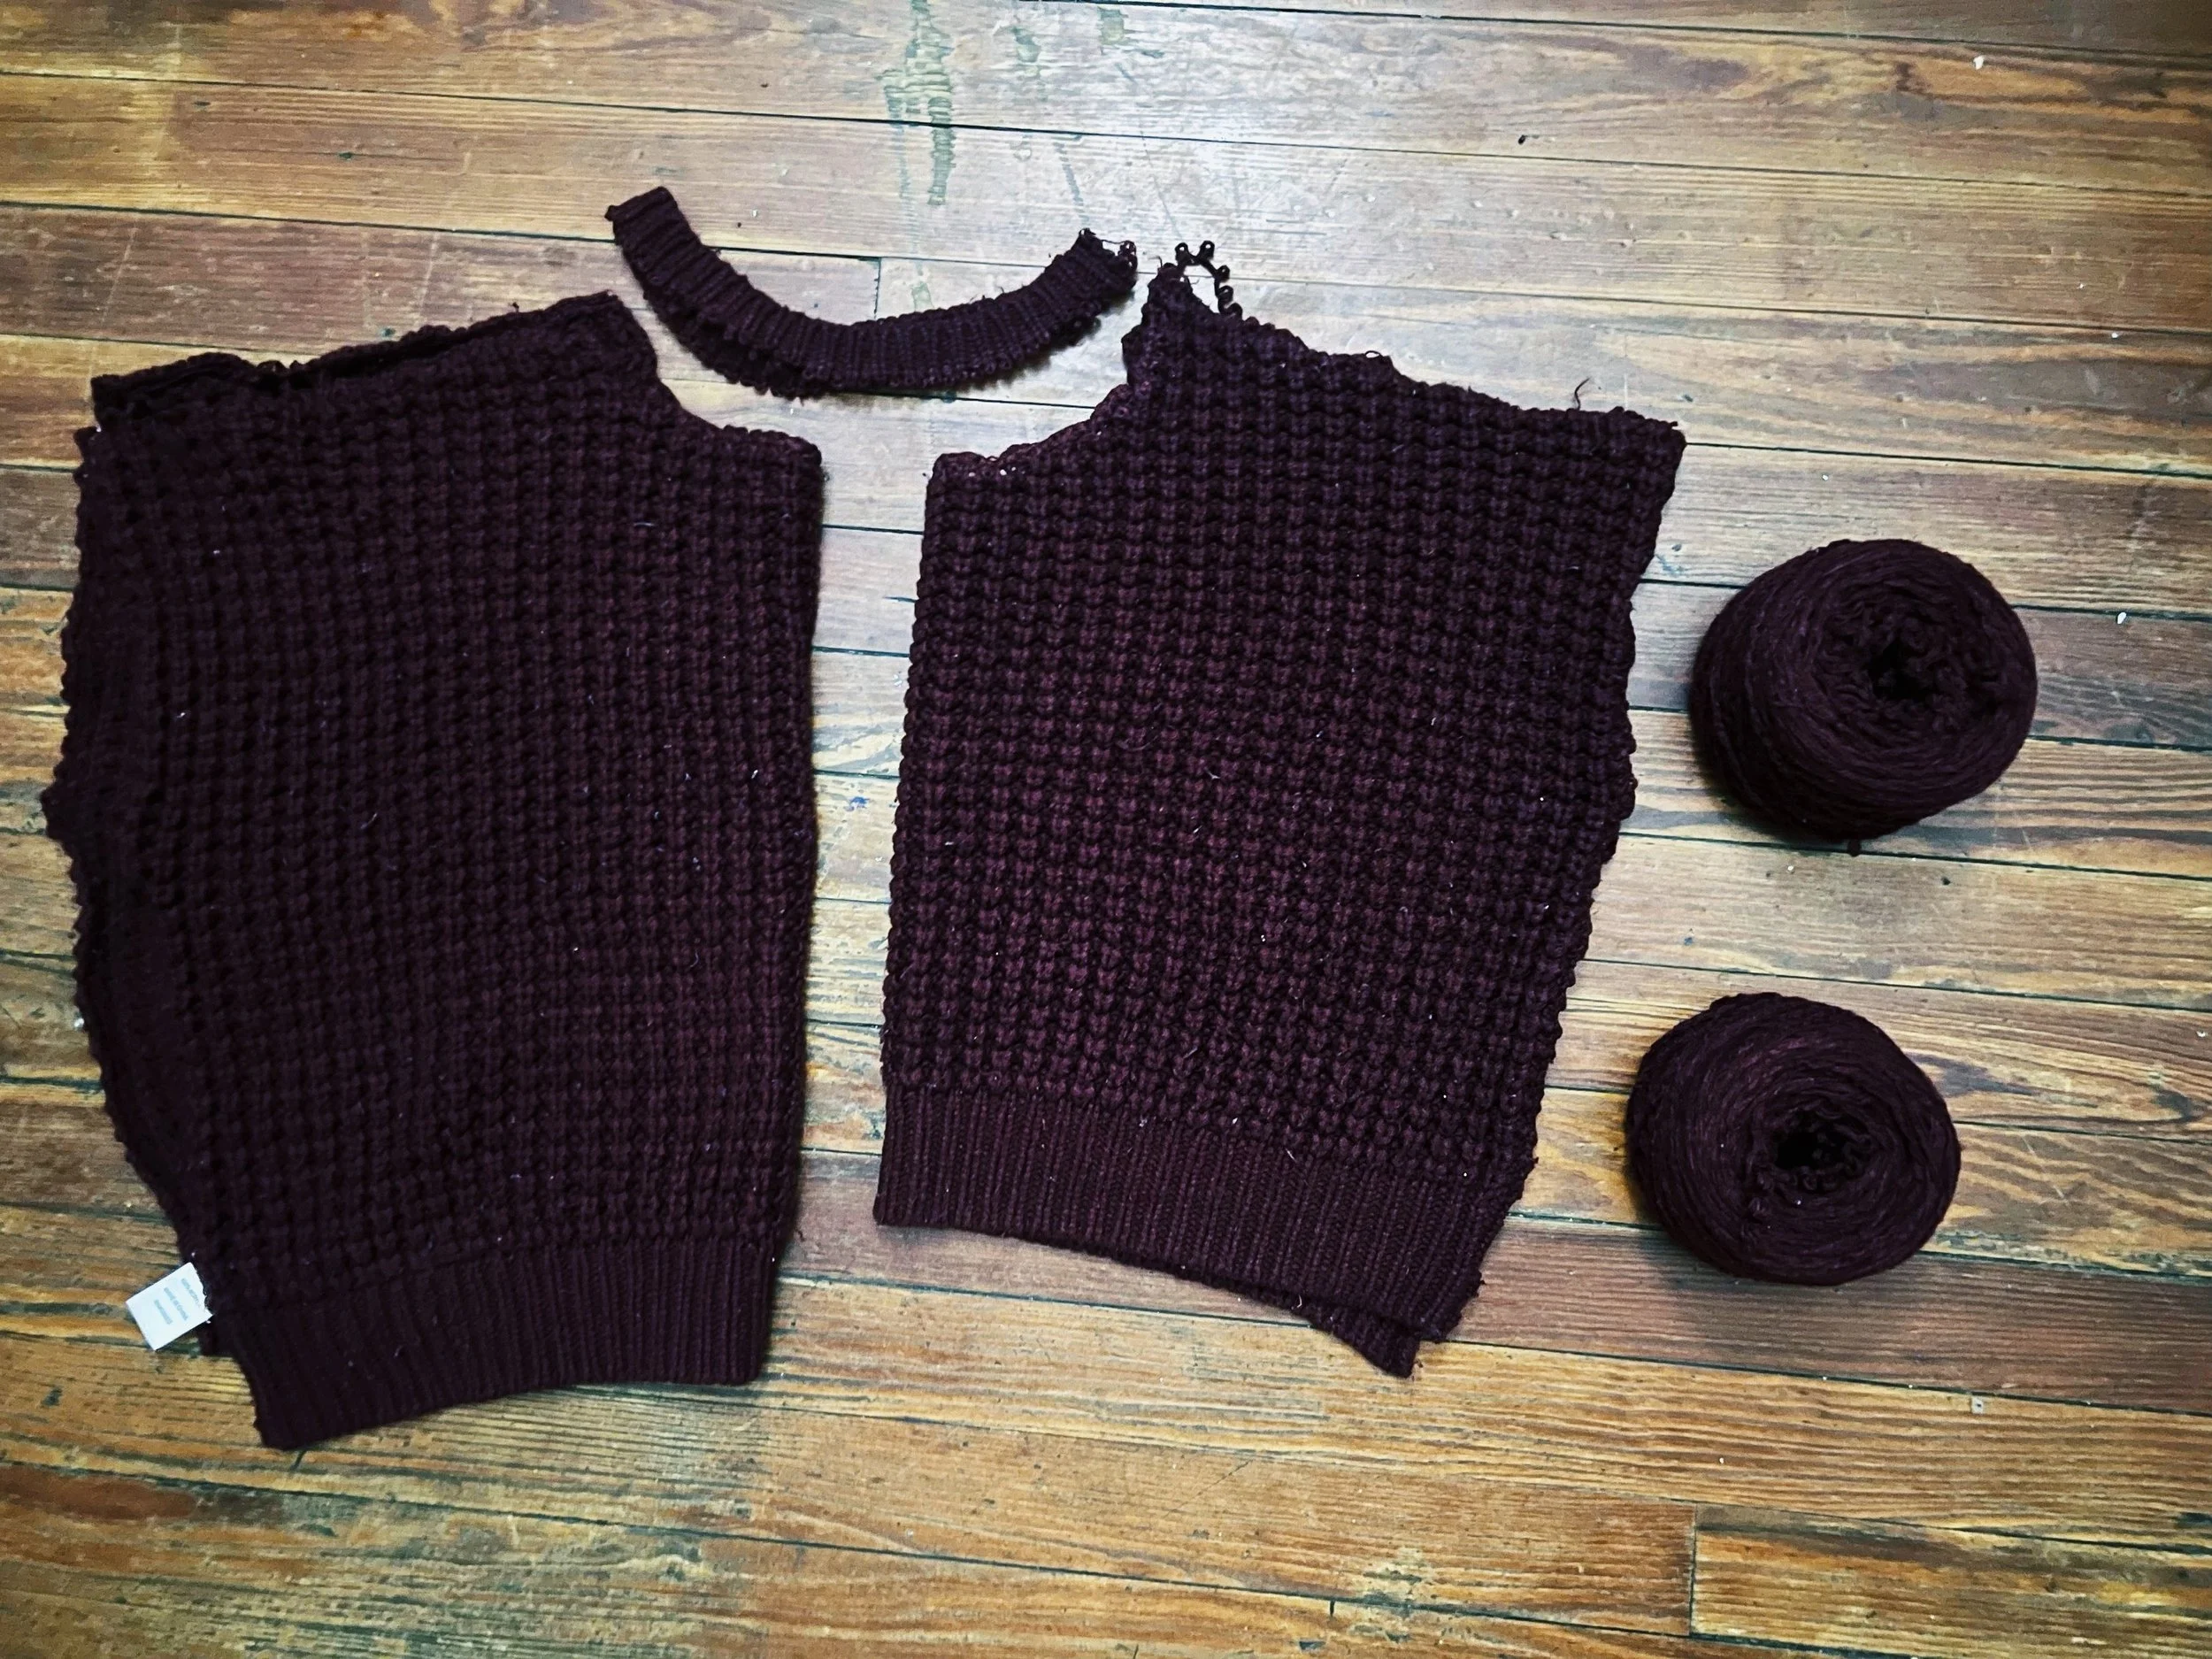
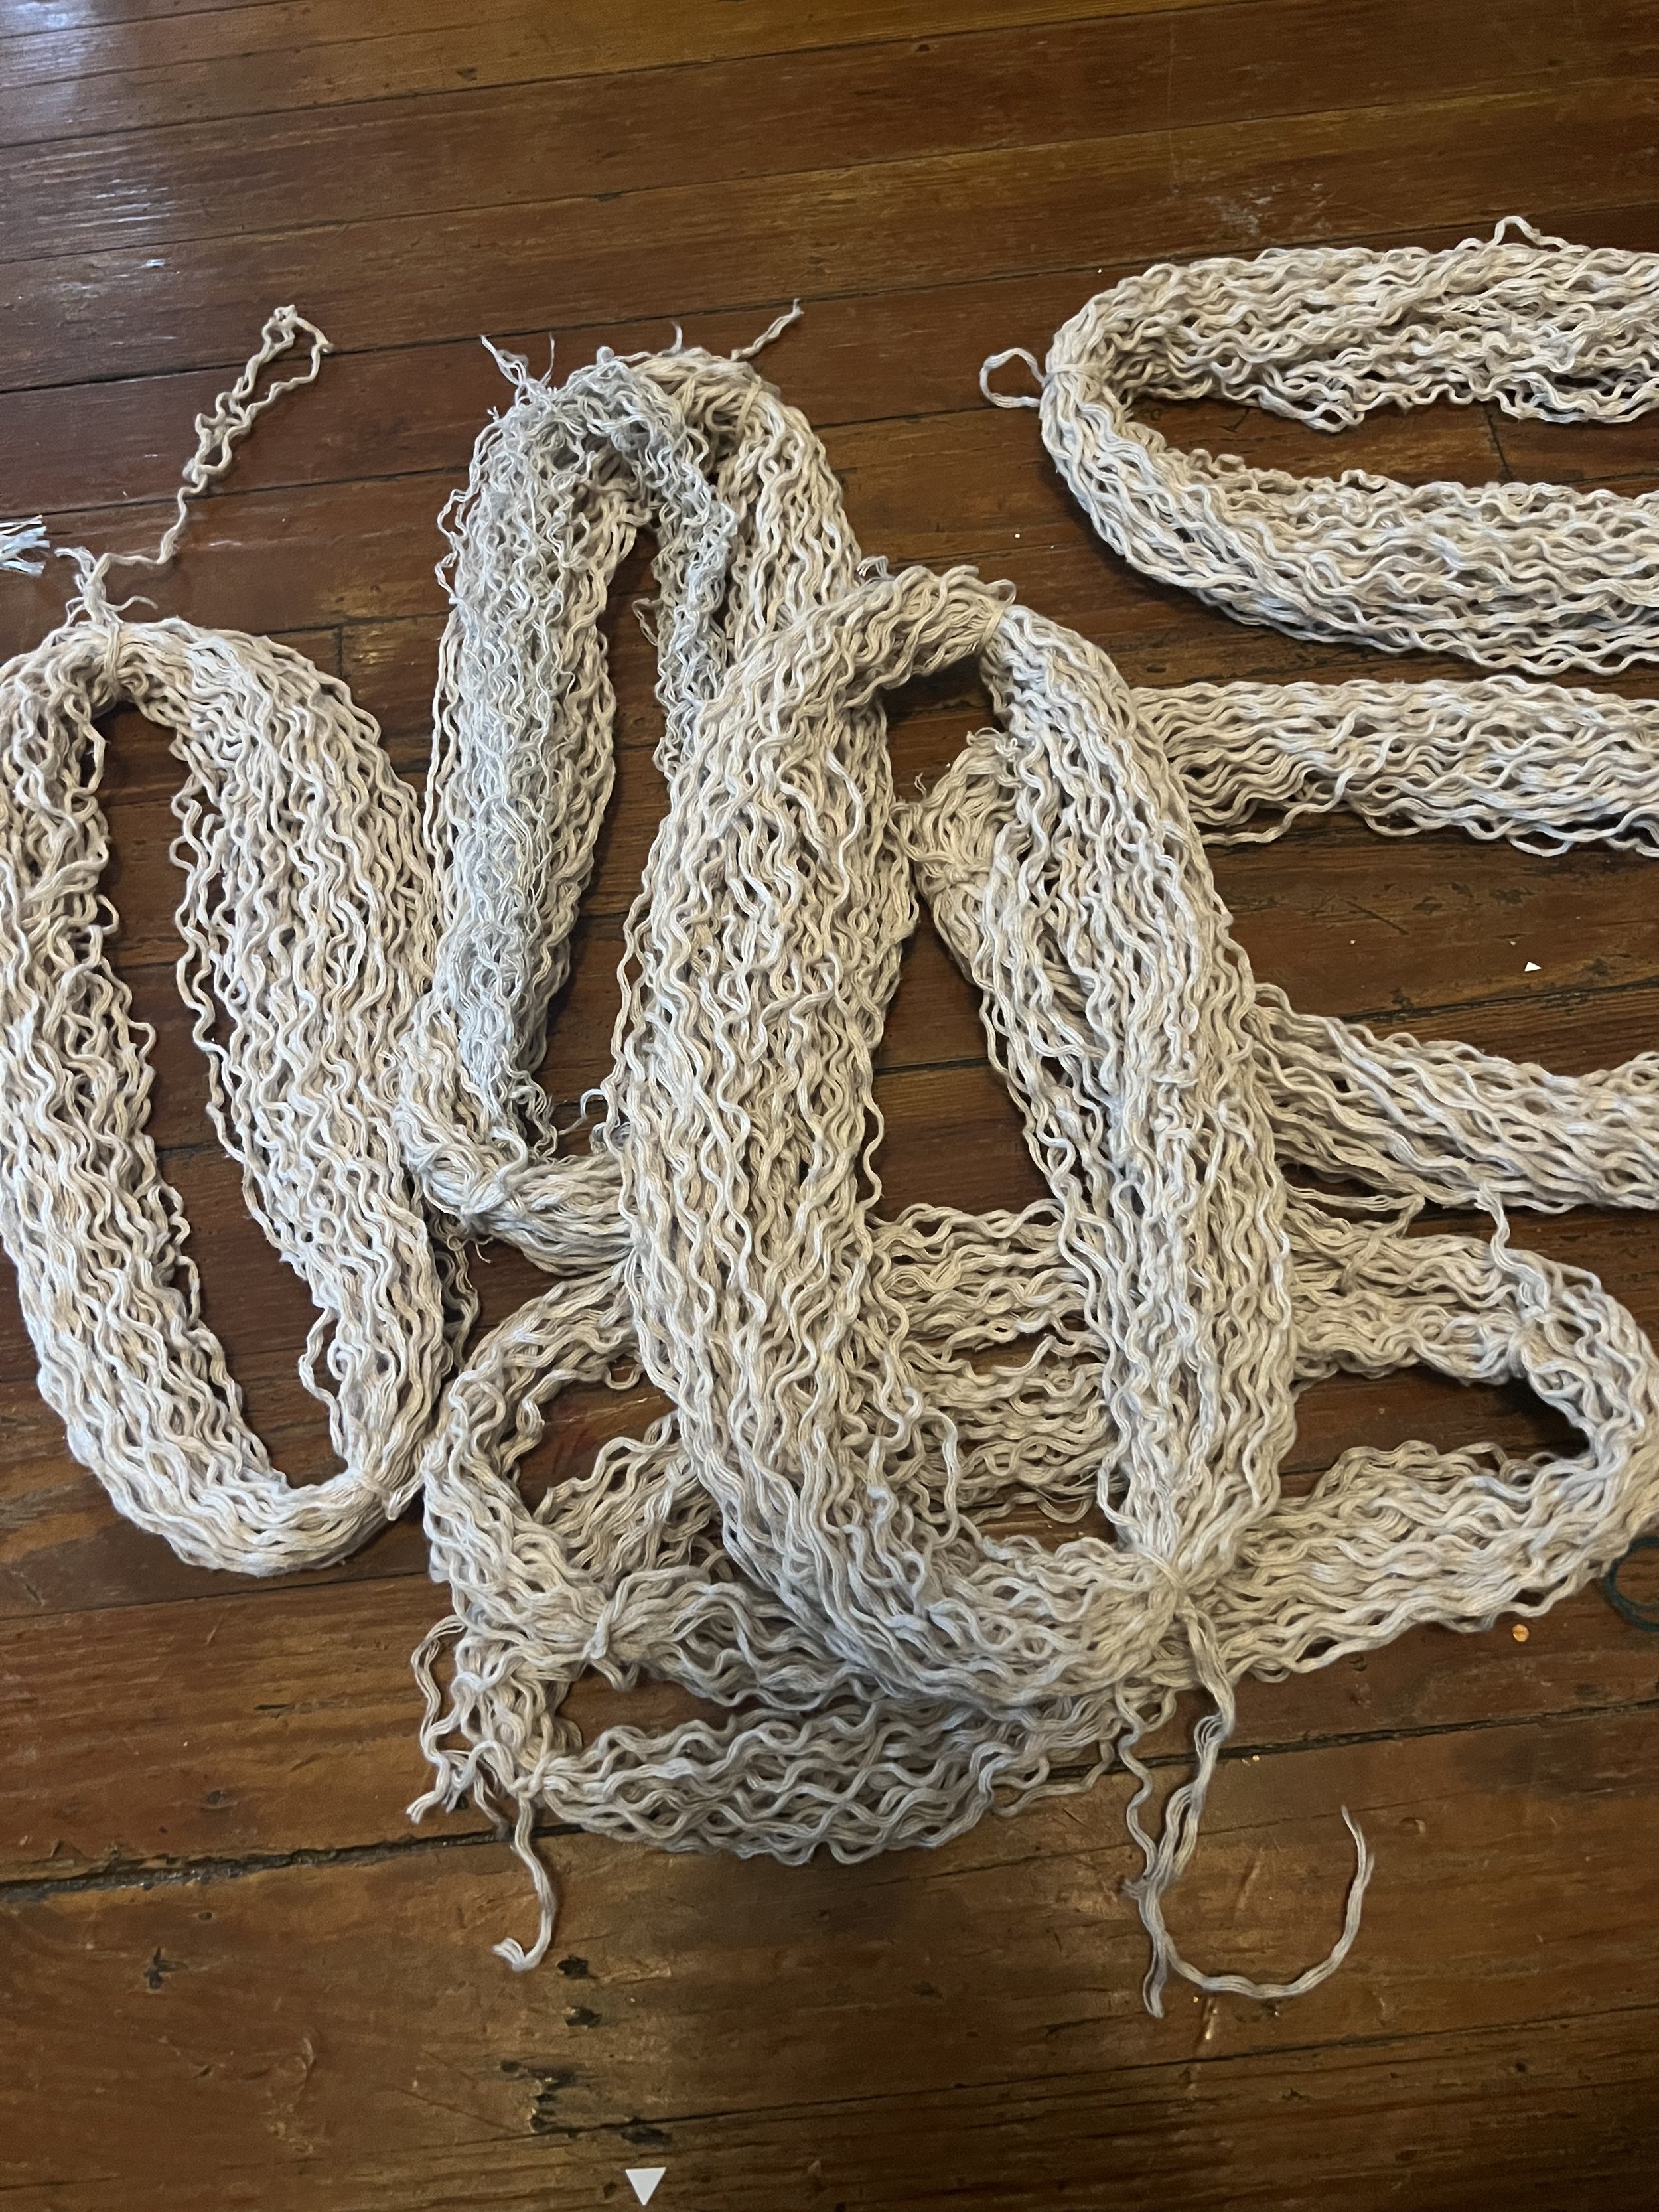
Step Three: Unraveling your yarn
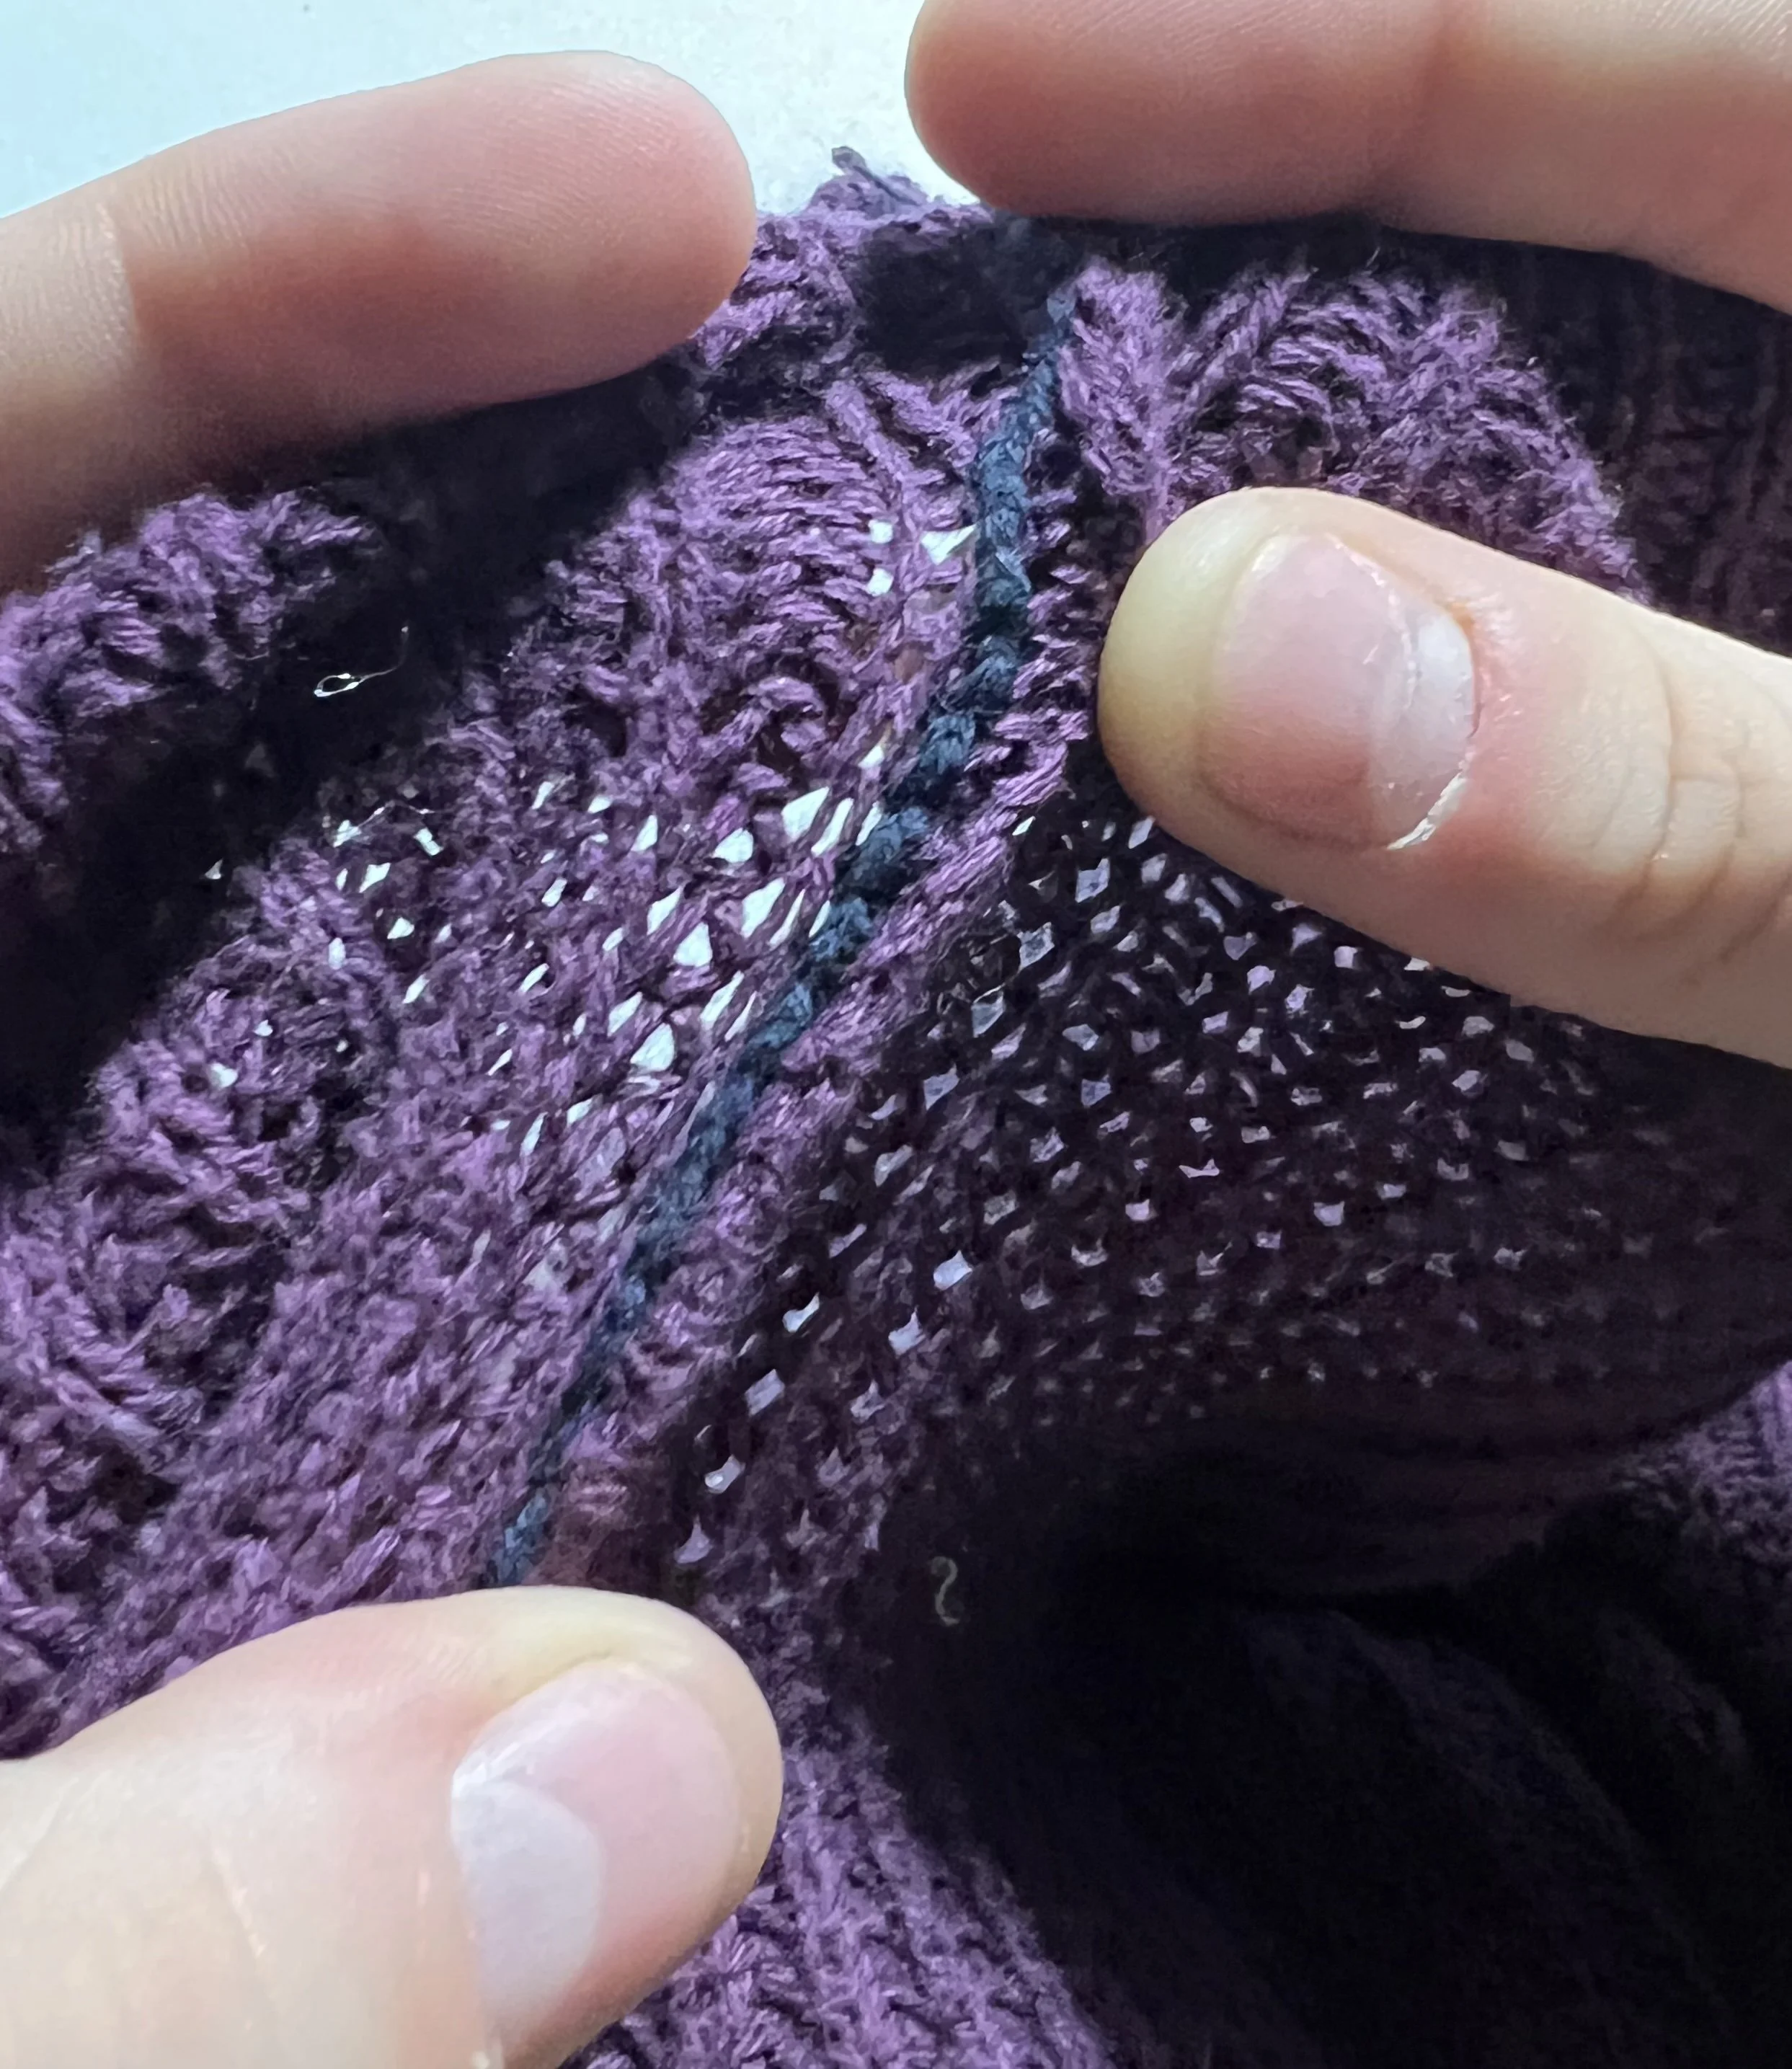
To begin unwinding the yarn, I usually start with the sleeves. I will cut the cast off edge. Then using tweezers I clean out the small bits of cut yarn. Finding a solid row along the neckline may be a little harder, but you can always cut along one of the rows below the neckline.
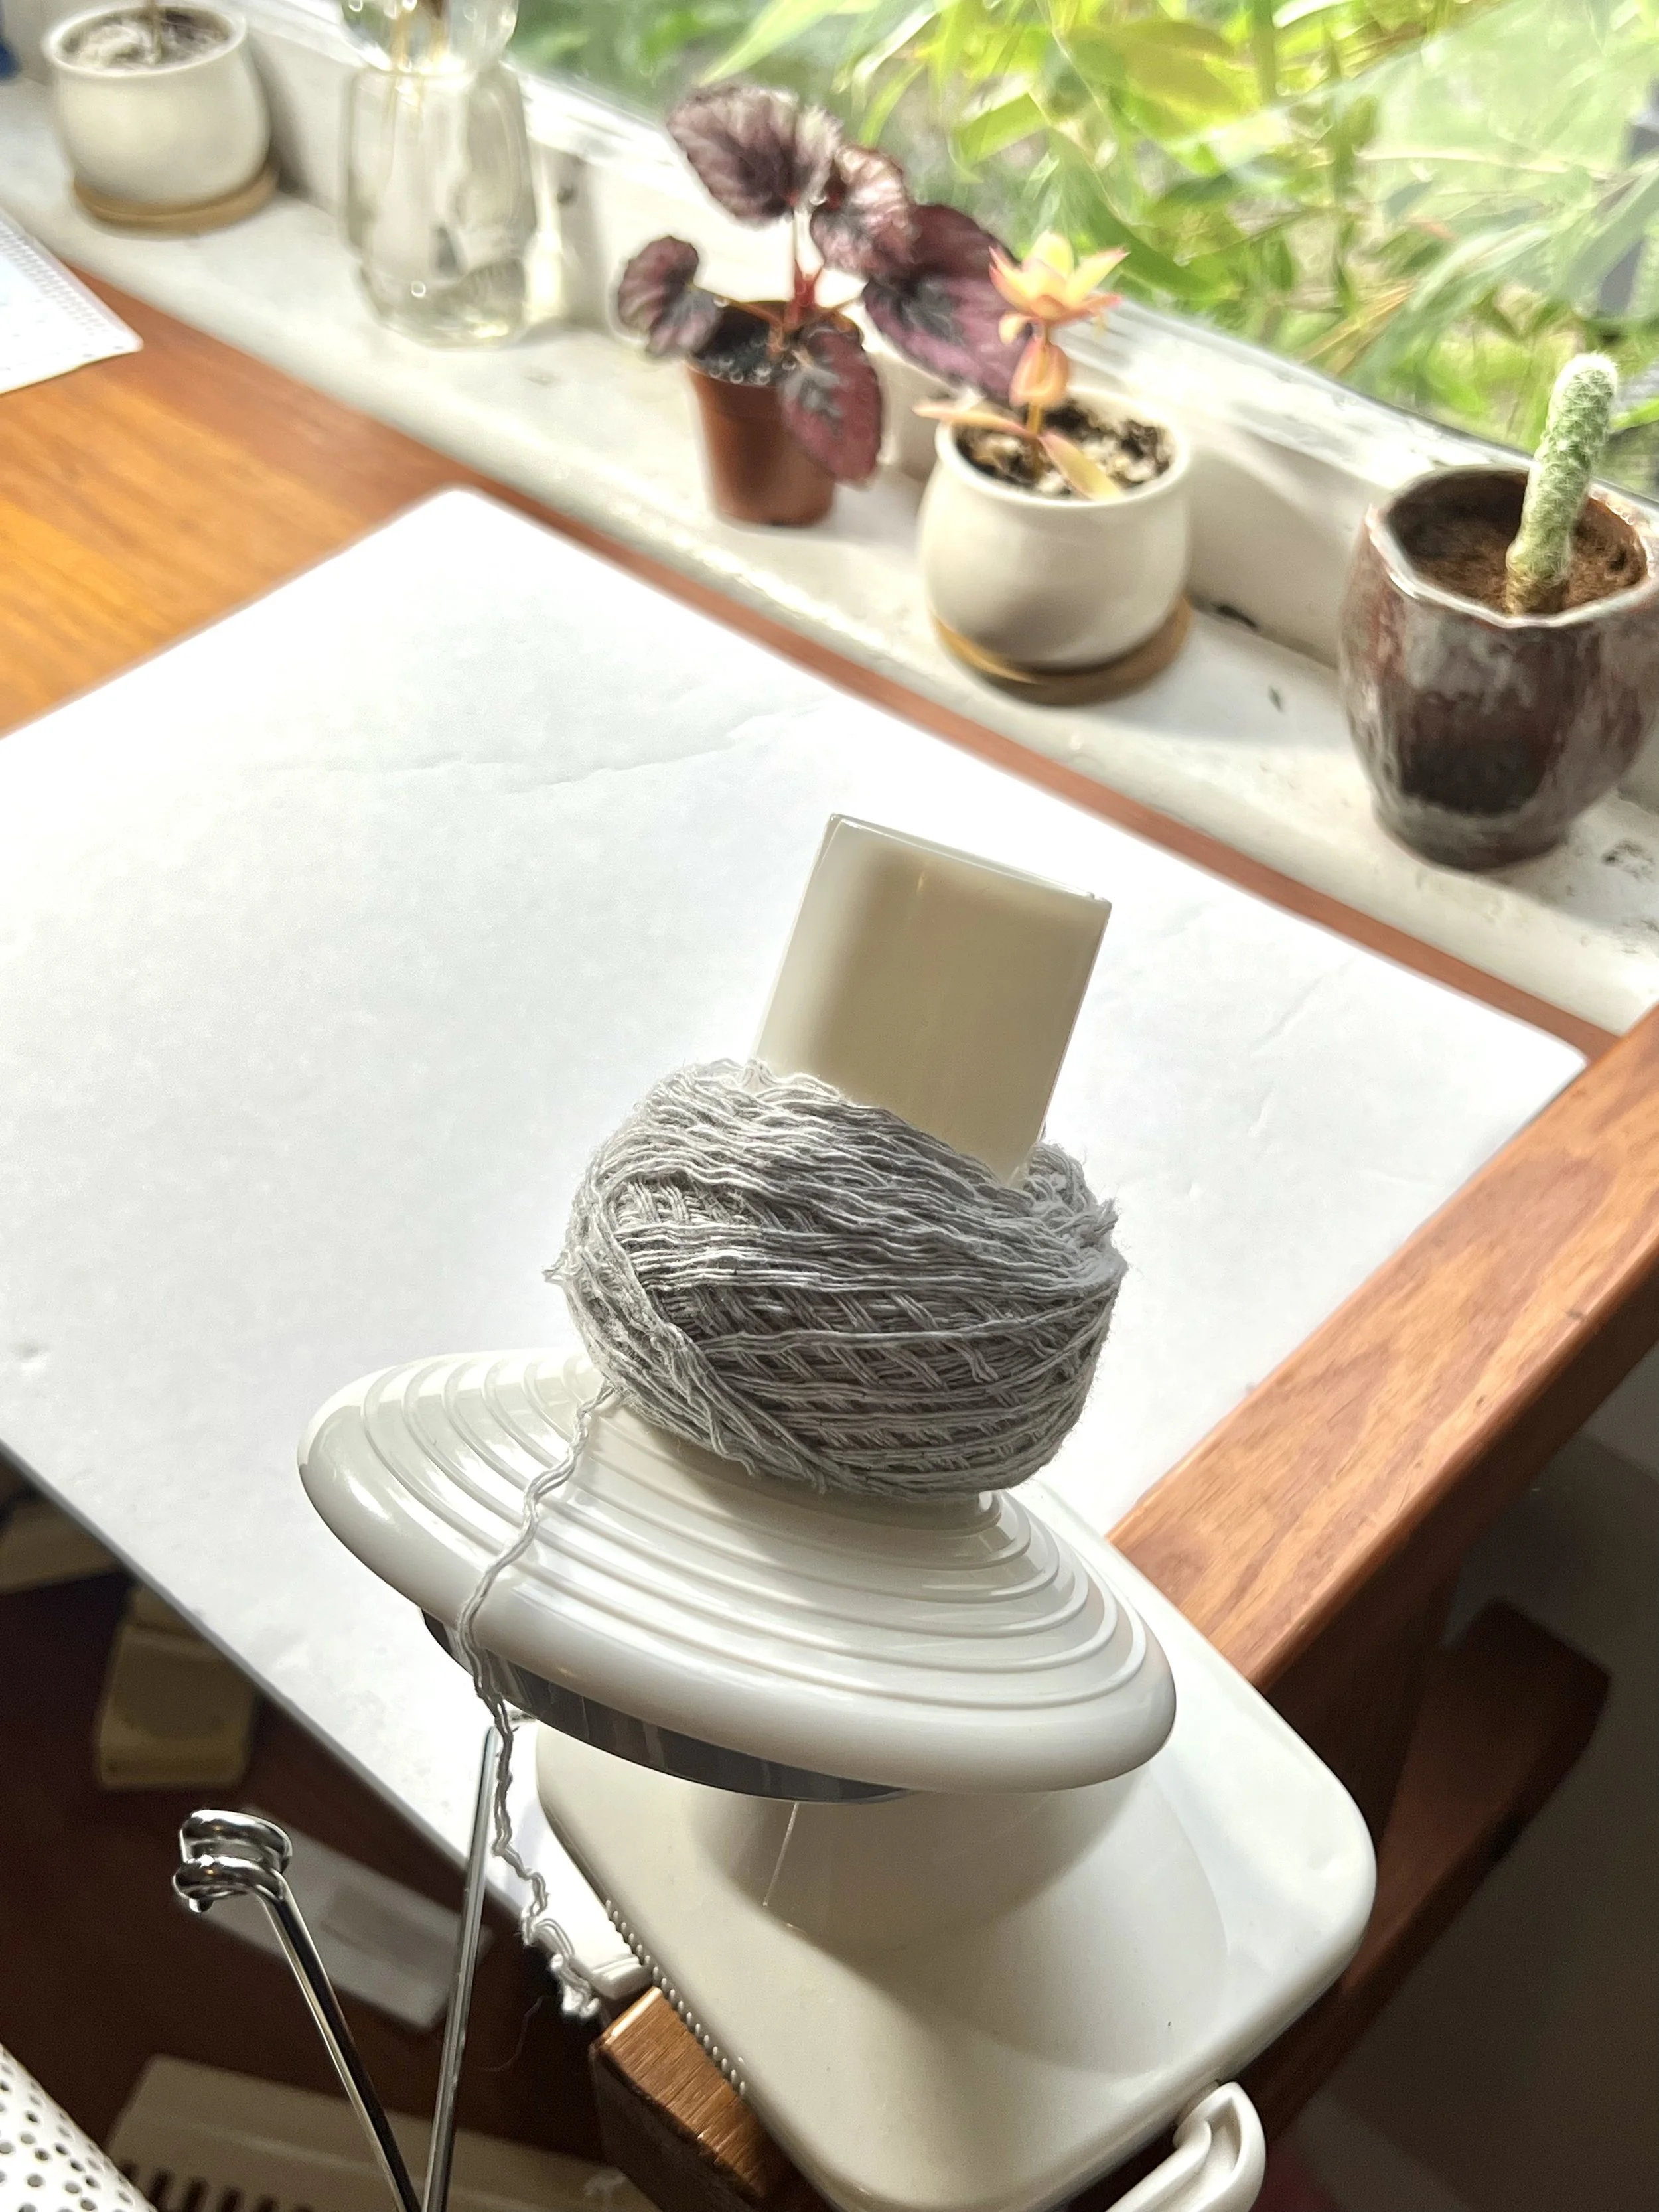
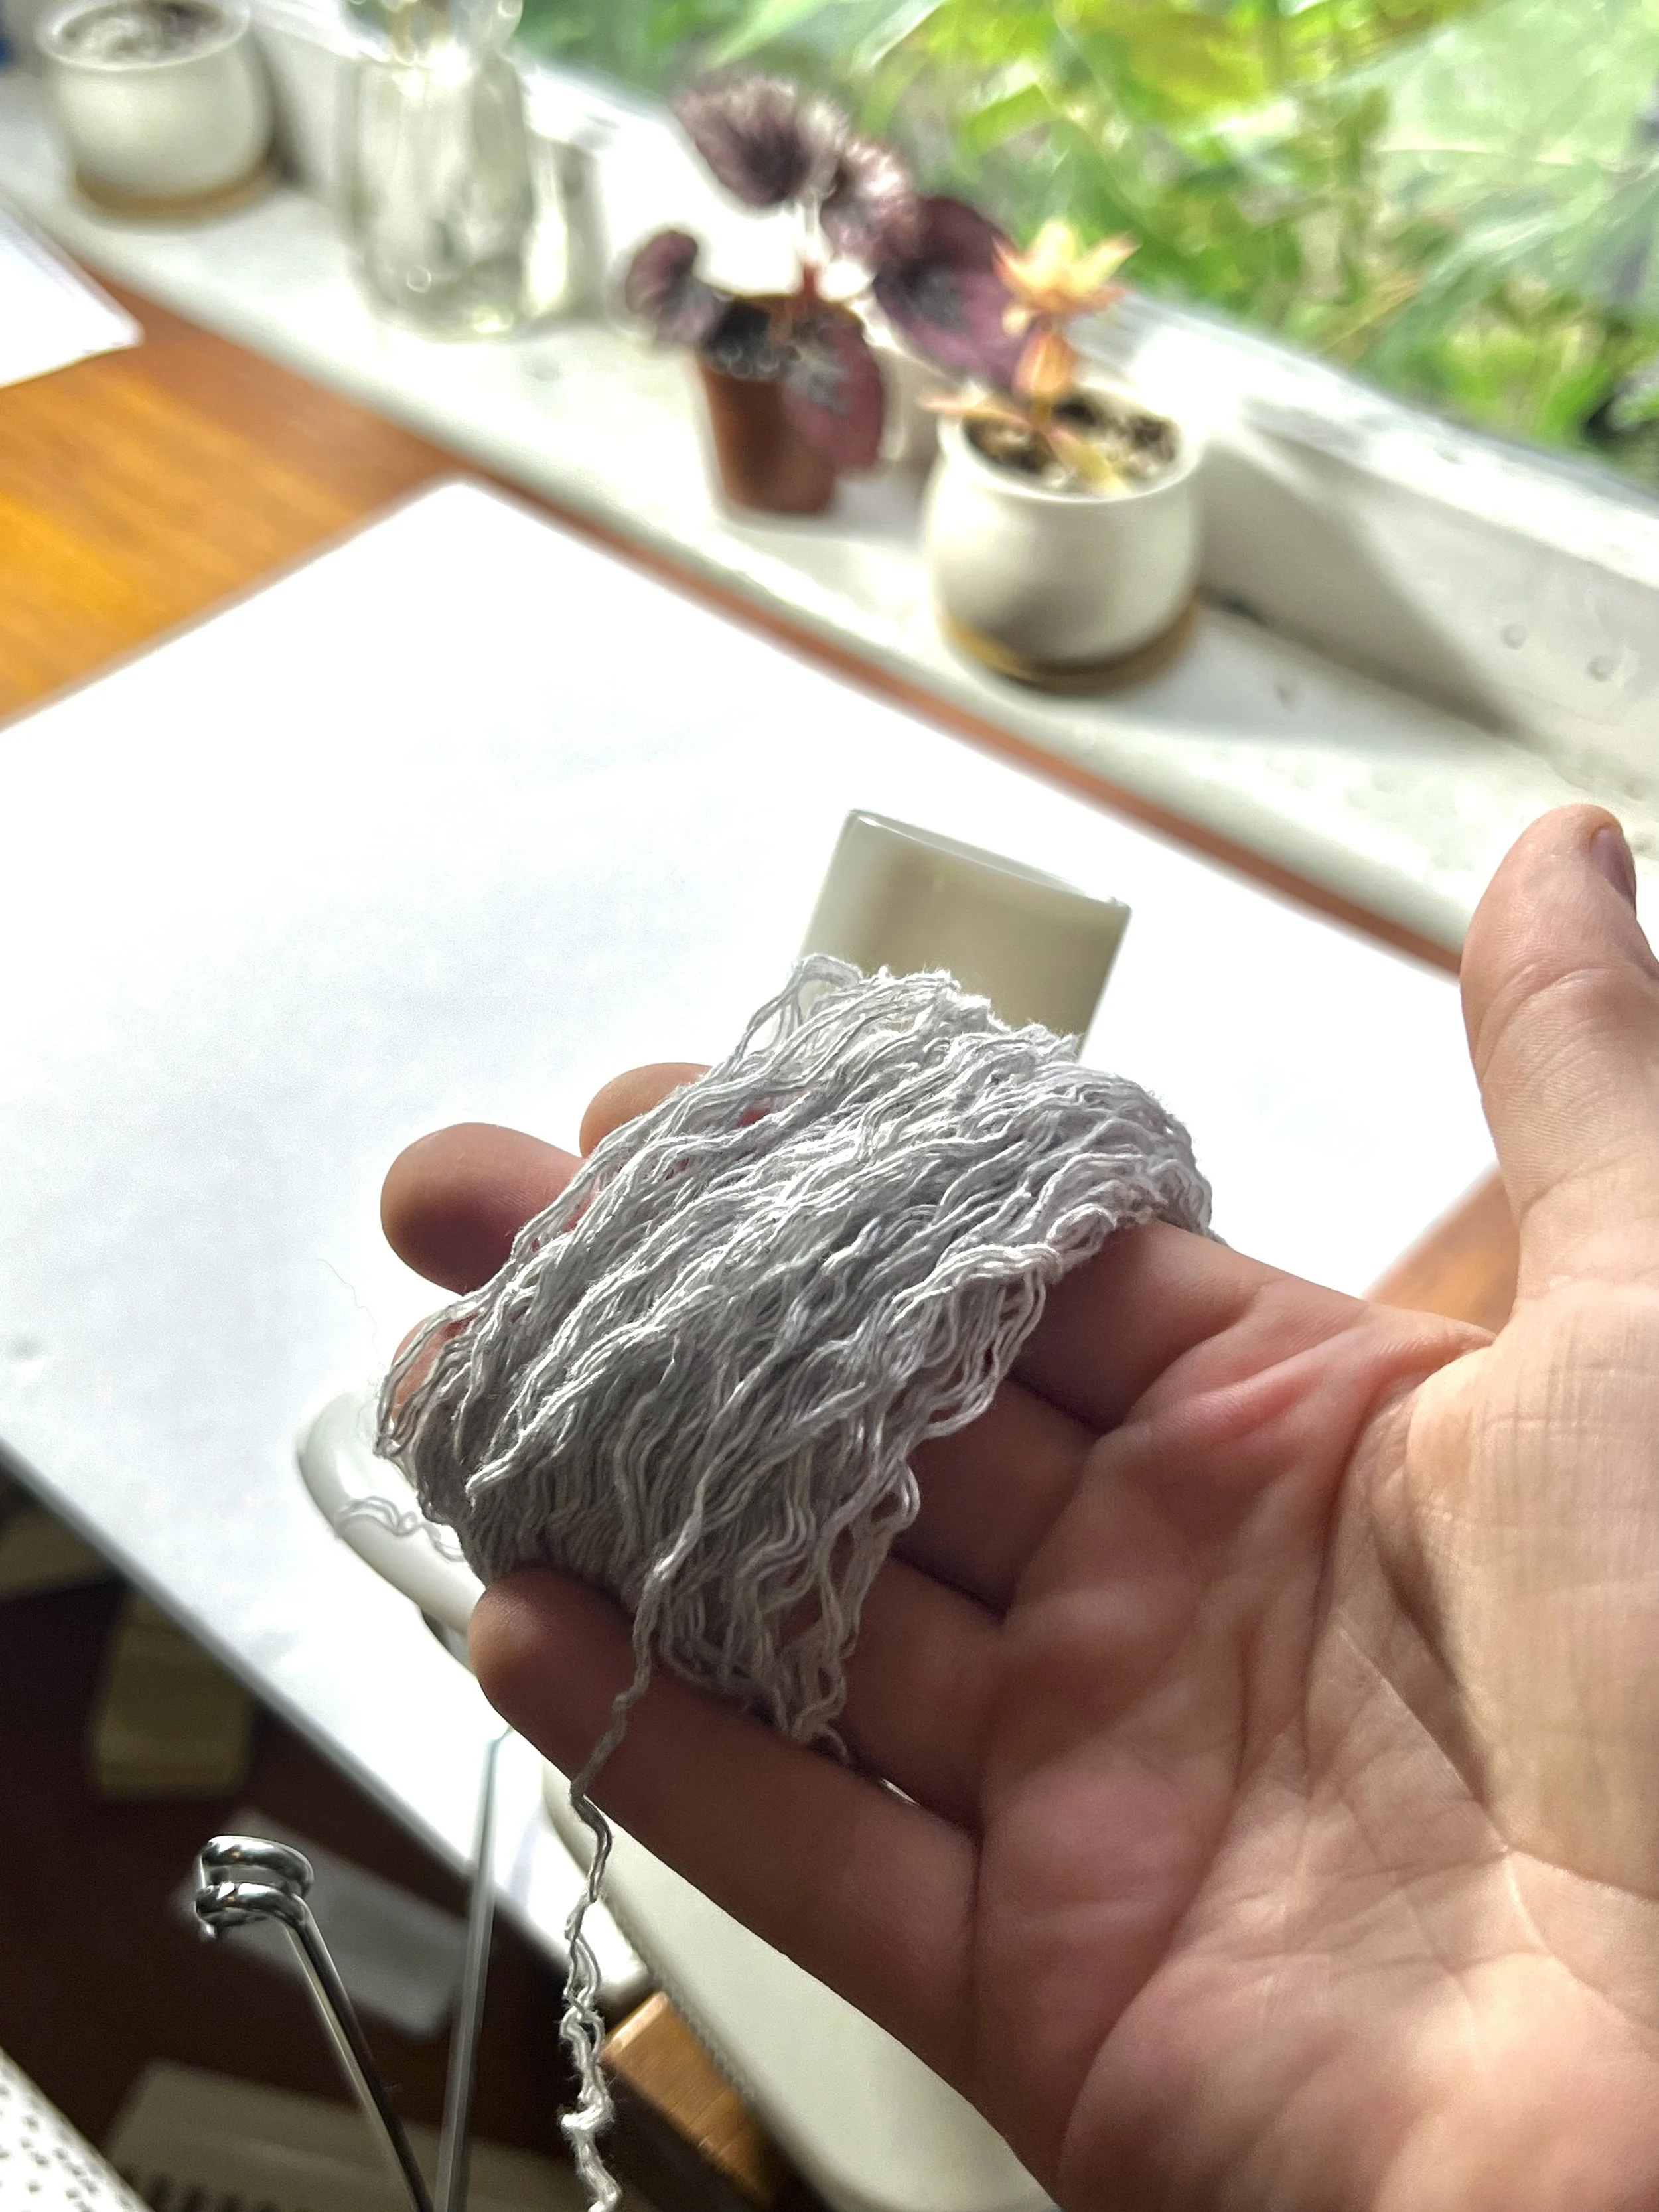
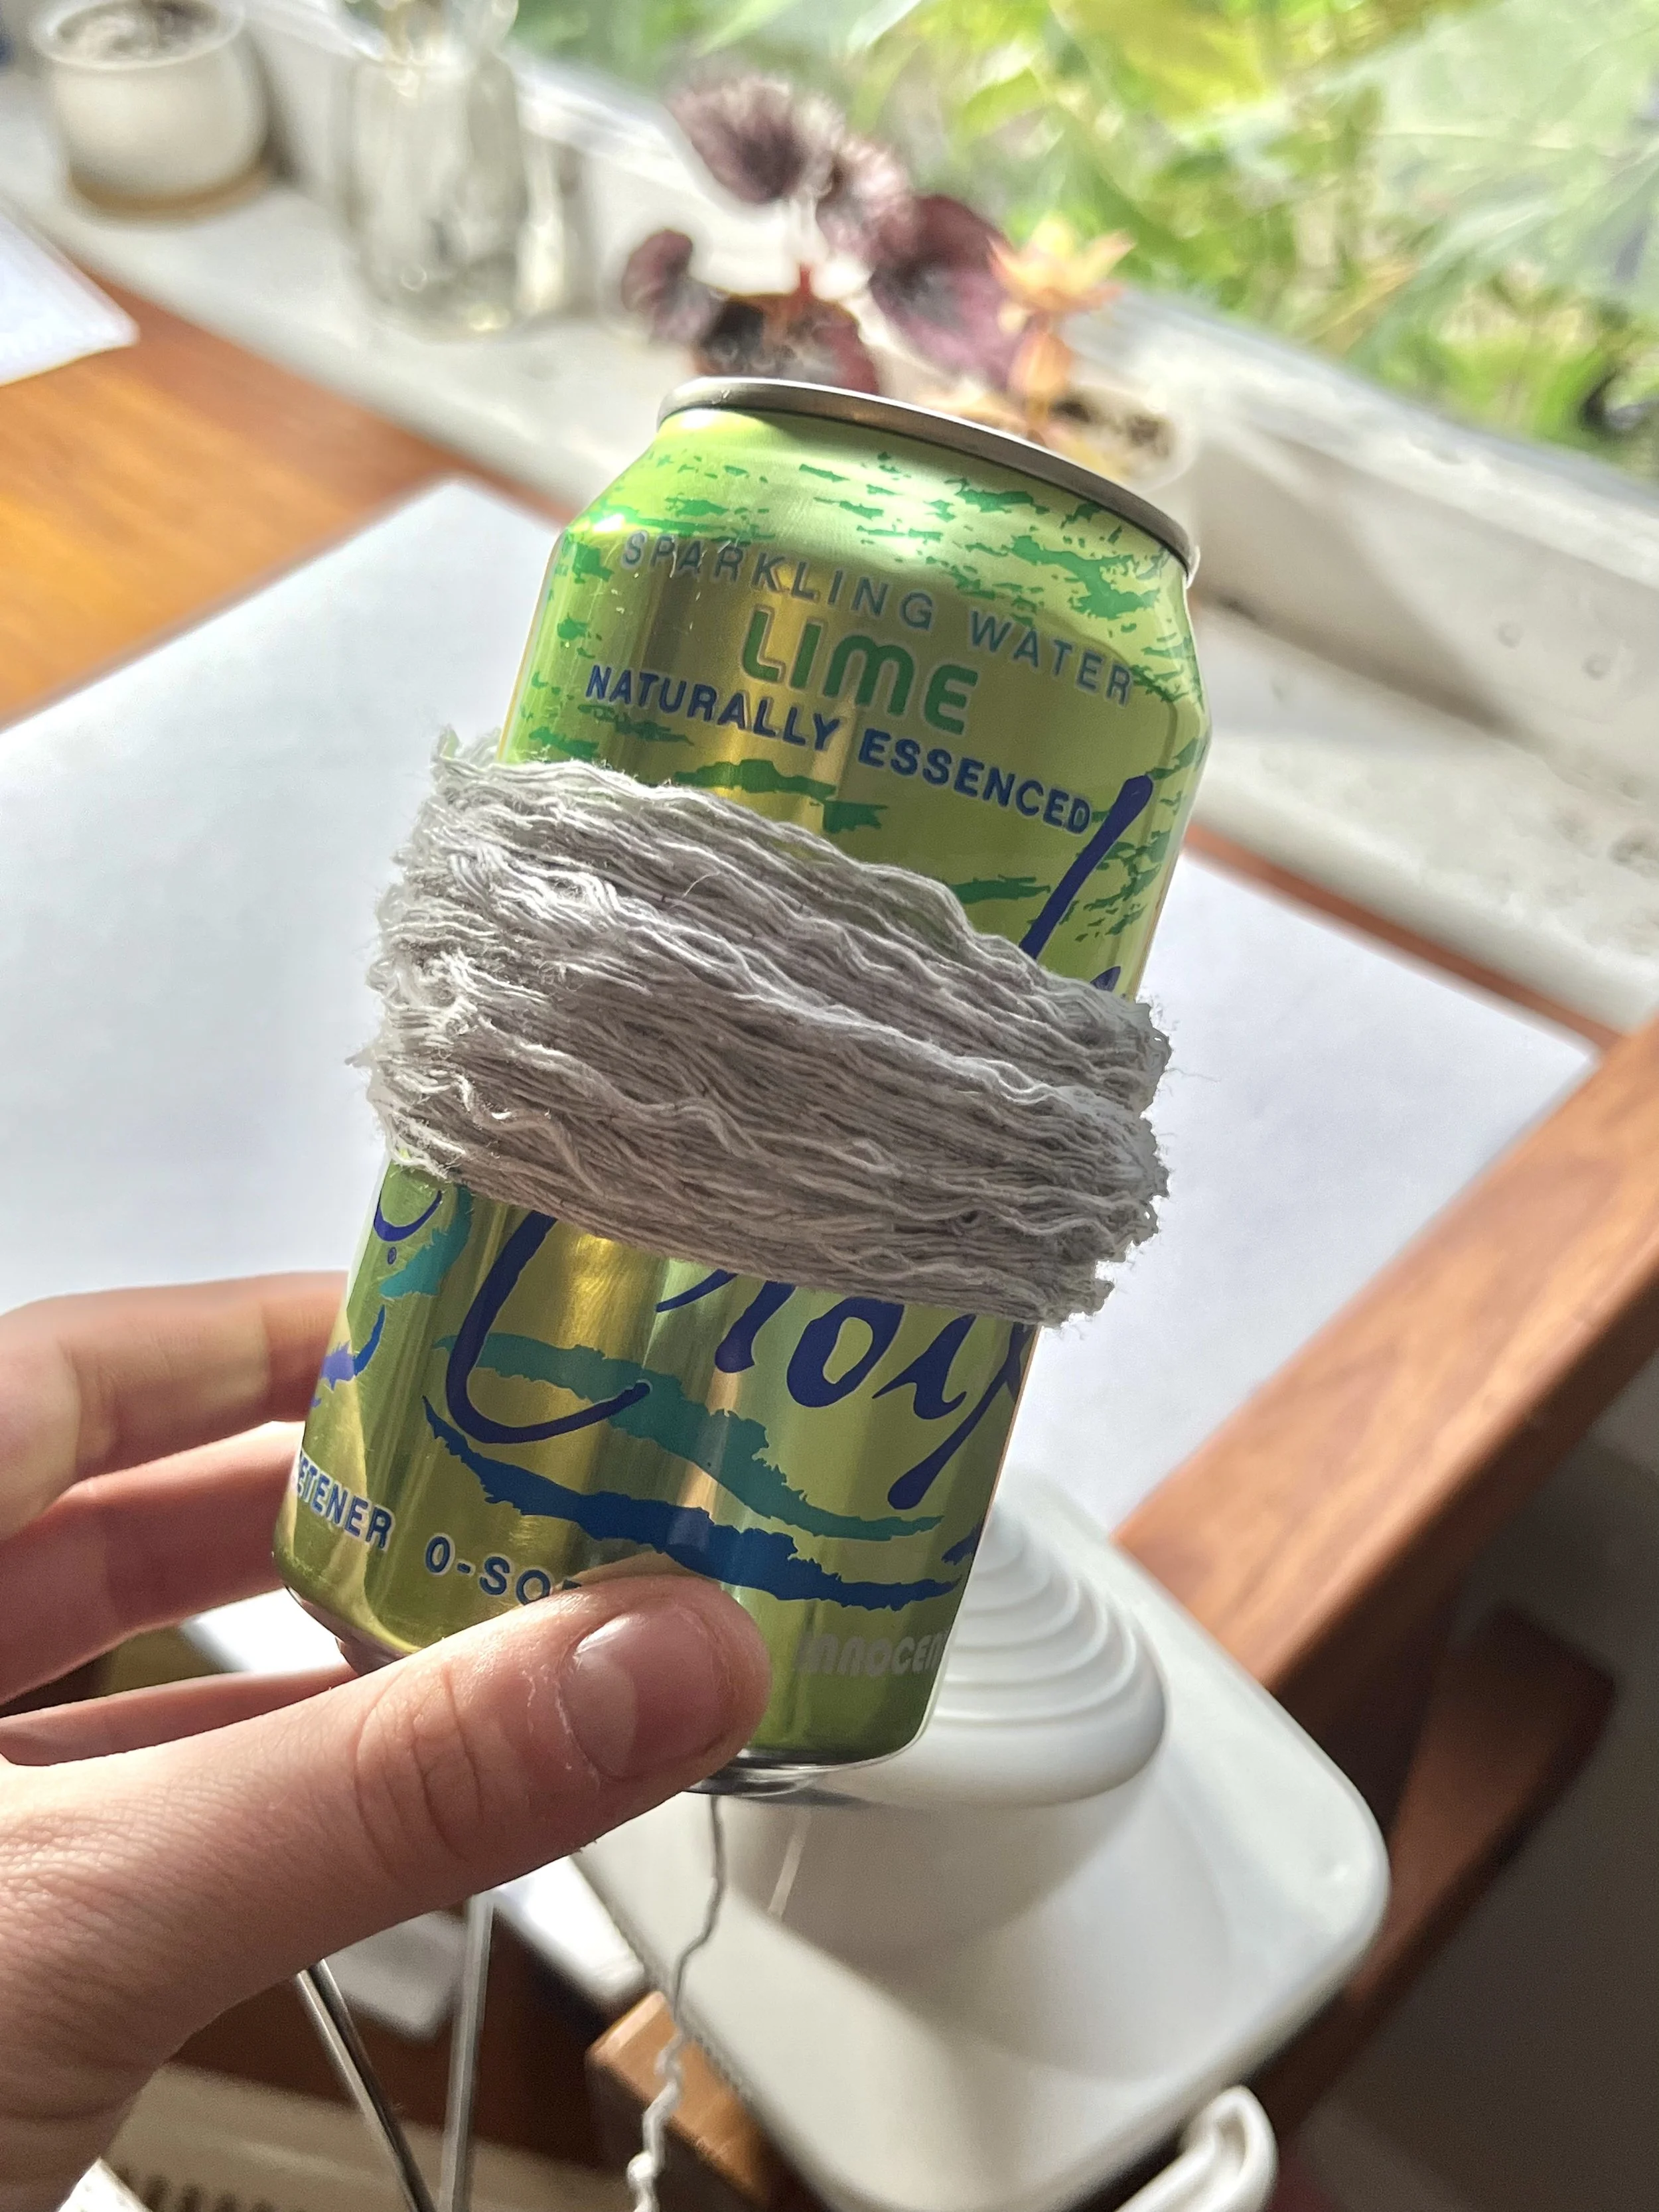
At this point, the yarn is free to be unwound. I find this step to be a lot easier with a yarn winder, but you can also wrap the yarn around anything you have on hand. I’ve found an aluminum can works well to allow for a nice center pull.
Step four: get to work!
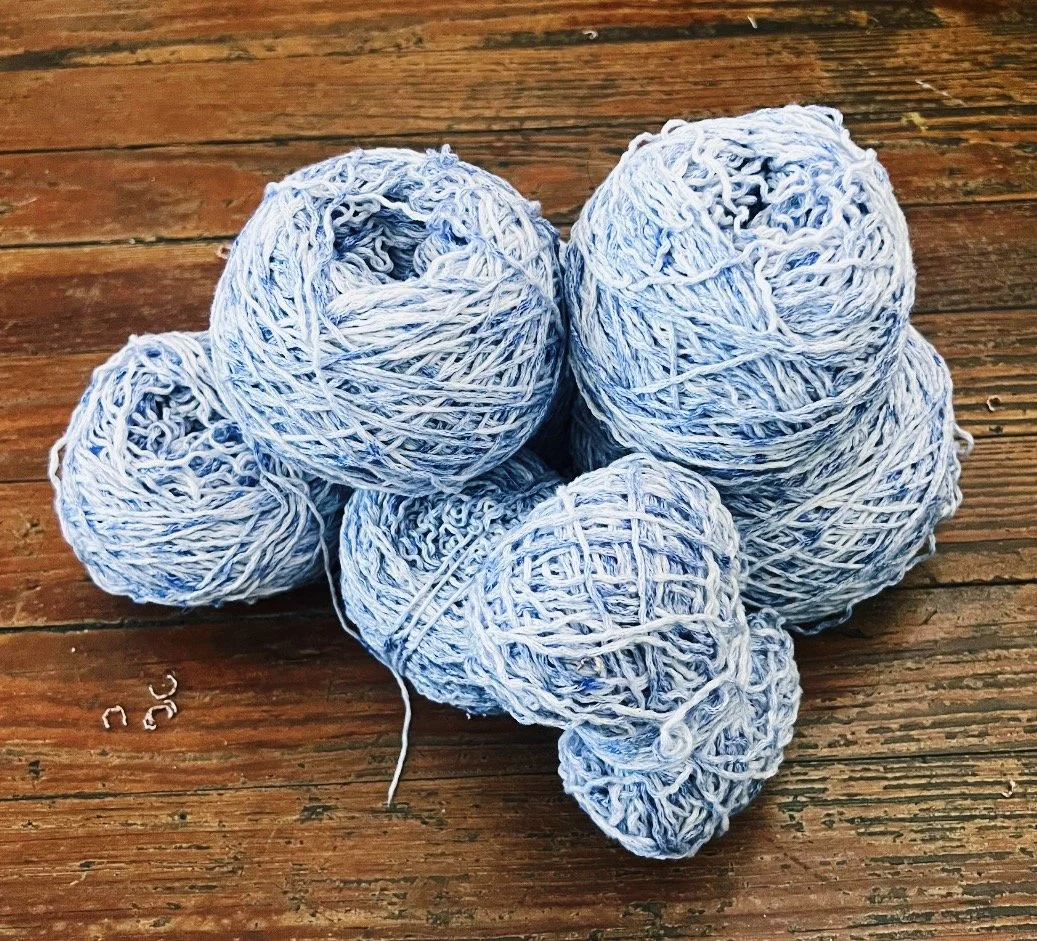
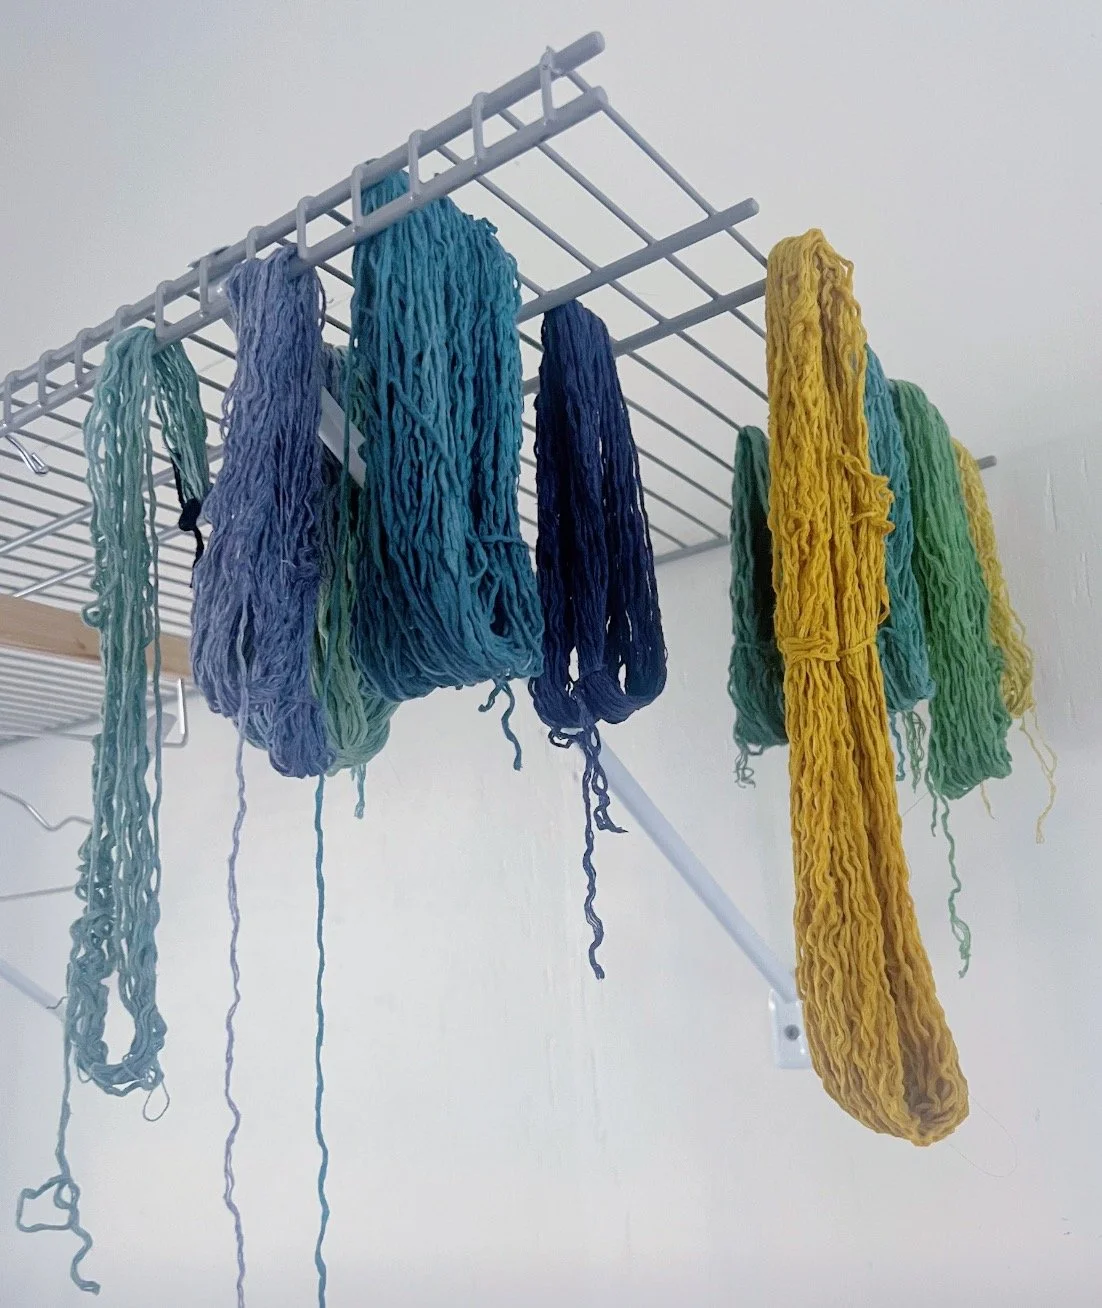
Your yarn is now ready for use! I always recommend experimenting with different yarn finishings to give a more unexpected outcome. Dying yarns as well as spinning multiple yarns together can make your yarn selection more interesting.
Thank you so much for reading! Please let me know your thoughts below and share anything you make with your recycled yarn!!!